


Whole Wheat Buns Recipe - Healthy and Homemade
Share
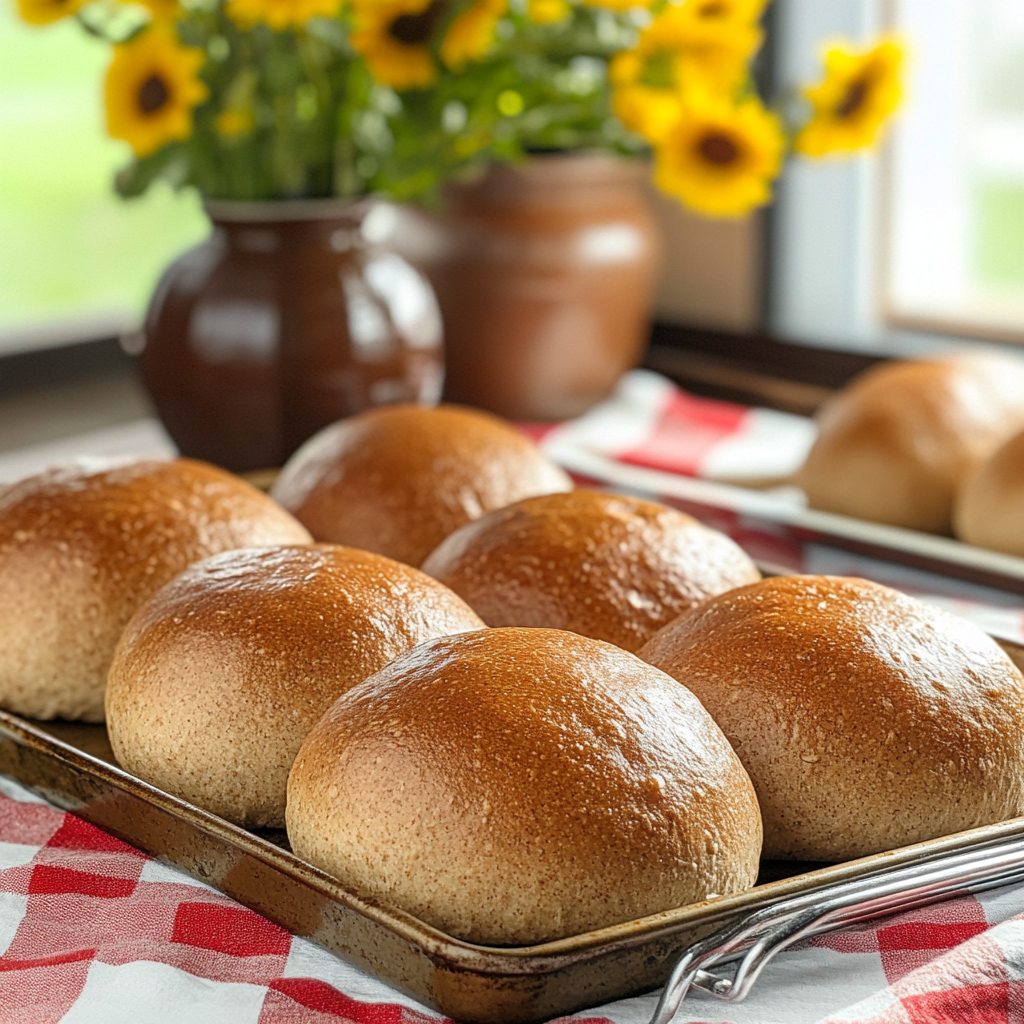
Whole Wheat Buns Simply Satisfying
I remember when I was learning to make whole wheat buns. It wasn’t just about the final product; it was the process—the smell of yeast as it activates, the feel of the dough transforming under my hands, and that sense of anticipation as the buns rise and bake to golden perfection. Whole wheat buns bring a sense of warmth to a meal or when simply enjoying them with a bit of butter and honey for a snack. The flavor and texture of these buns always hit the spot. Making buns can seem like a labor of love and it is in many ways. Mainly its knowing there are no added stabilizers or preservatives added to the bread that makes it worthwhile.
Did you know?
Whole wheat buns are a more nutritious option than their white flour counterparts because they retain the bran and germ of the wheat grain. This means more fiber, vitamins, and minerals are packed into every bite. The bran absorbs more water, which is why whole wheat dough tends to be denser, resulting in buns that are more filling and wholesome. Not only are you getting a delicious bun, but you’re also giving your body essential nutrients that white buns just don’t provide.
Yield: 12 buns
Ingredients:
3 cups whole wheat flour
1 1/2 cups warm water (110°F)
2 1/4 teaspoons active dry yeast
2 tablespoons honey or sugar
1/4 cup olive oil or melted butter
1 1/2 teaspoons salt
1 egg (optional, for an egg wash)
Instructions:
Prepare the Dough:
In a small bowl, dissolve the honey (or sugar) and yeast in warm water. Let it sit for about 5-10 minutes until frothy.
Personal Tip: Make sure the water isn’t too hot, or it will kill the yeast—aim for a temperature around 110°F.
In a large mixing bowl, combine the whole wheat flour and salt.
Personal Tip: Whisk the flour and salt together to distribute the salt evenly before adding the wet ingredients.
Make a well in the center of the flour mixture and add the yeast mixture and olive oil (or melted butter).
Personal Tip: Pour the wet ingredients slowly into the well to avoid a sticky mess when mixing.
Mix until a shaggy dough forms. If the dough is too sticky, add a little more flour; if it's too dry, add a bit more water.
Personal Tip: Don’t worry if the dough feels a little rough at first; it will smooth out during kneading.
Knead the Dough:
Turn the dough out onto a floured surface and knead for about 8-10 minutes until smooth and elastic.
Personal Tip: If the dough sticks to your hands, lightly flour your hands, but avoid adding too much flour—it can make the buns tough.
First Rise:
Place the dough in a lightly greased bowl, cover with a damp cloth, and let it rise in a warm place for about 1-2 hours, or until doubled in size.
Personal Tip: If your kitchen is cool, turn on the oven light and let the dough rise inside the oven.
Shape the Buns:
Punch down the dough to release any air bubbles. Divide the dough into 12 equal pieces.
Personal Tip: Use a kitchen scale to ensure even-sized buns, which will bake more consistently.
Shape each piece into a ball and place them on a parchment-lined baking sheet, spacing them about 2 inches apart. Flatten each ball slightly to form a bun shape. Cover with a cloth and let them rise for another 30-45 minutes, or until they have nearly doubled in size.
Personal Tip: Cover the buns with a damp towel to prevent them from drying out during the second rise.
Prepare for Baking:
Preheat your oven to 375°F (190°C).
If using, beat the egg and brush it lightly over the tops of the buns for a shiny finish.
Personal Tip: For a vegan option, use a plant-based milk mixed with maple syrup for a similar glossy finish.
Bake the Buns:
Bake in the preheated oven for 15-20 minutes, or until the buns are golden brown and sound hollow when tapped on the bottom.
Personal Tip: Rotate the baking sheet halfway through baking for an even color.
Let the buns cool on a wire rack before serving.
Personal Tip: Resist the urge to eat the buns right out of the oven—letting them cool slightly improves their texture.
Nutritional Information (Per Serving):
Calories: 180, Fat: 5g, Saturated Fat: 1g, Carbohydrates: 30g, Fiber: 4g, Sugars: 3g, Protein: 5g
Kitchen Tips, Great Ideas, How to Save Money
-
Flour Substitutions: If you don’t have bread flour, using all whole wheat flour will work, though it results in a denser bun. Alternatively, mix a portion of all-purpose flour with whole wheat to lighten the texture.
-
Honey Substitutes: No honey? No problem! You can use sugar, maple syrup, or agave nectar as a sweetener. Each will give a slightly different flavor, so experiment to find your favorite.
-
Oil Substitutes: Olive oil can be substituted with any vegetable oil, melted butter, or even coconut oil for a different taste. Try them all and see which you prefer!
-
Dough Rising Environment: Create a warm rising environment by placing the dough near a sunny window or on top of a warm appliance. A consistent temperature will help the dough rise beautifully.
-
Storage: Keep leftover buns fresh by storing them in an airtight container at room temperature for up to 3 days. If you want them to last longer, freeze them and thaw at room temperature before serving.
-
Freezing Dough: If you want fresh buns on demand, freeze the dough after shaping the buns. Once frozen solid, transfer to a freezer bag. When ready to bake, thaw, let rise, and bake as usual.
-
Adding Seeds: Adding seeds like sesame, poppy, or sunflower seeds before baking adds texture and nutrition. You can even incorporate them into the dough for an extra crunch.
-
Serving Ideas: These buns are perfect for burgers, sandwiches, or as a side with soups and salads. You can also toast them lightly and serve with jam, honey, or butter for a simple treat.
-
Egg Wash Alternative: If you want to skip the egg wash for a vegan version, brush the tops of the buns with water and sprinkle with sesame seeds for a decorative touch.
-
Kneading Tips: Kneading helps develop the gluten, which gives the buns their structure. Be patient and knead until the dough is smooth and elastic, but don’t over-knead, or the buns can become tough.
Let’s Learn About Flours
Flour is the backbone of most baked goods, but not all flours are created equal. Whole wheat flour retains the bran and germ of the wheat grain, making it more nutritious than refined white flour. It has a denser texture and a nuttier flavor, and it absorbs more liquid, resulting in thicker doughs. Bread flour, on the other hand, has a higher protein content, which helps create a chewier texture. If you’re looking to bake lighter, fluffier buns, a mix of whole wheat and all-purpose or bread flour can provide the best of both worlds. When shopping for flour, look for labels indicating whether the flour is stone-ground, as this method preserves more nutrients. Organic options are also available, ensuring the flour is free from synthetic pesticides.