The Ultimate Guide to Cleaning Your Oven: Tips, Tricks, and DIY Methods

Share
The Ultimate Oven and Range Cleaning Guide
Whether you’re a beginner chef or a gourmet expert, kitchen mishaps are inevitable. These mishaps often lead to dreaded cleaning tasks, and a dirty oven is a common challenge many face. In this guide, we’ll explore how to maintain a spotless oven and ensure its longevity and efficiency.
Why Clean Your Oven Regularly?
A dirty oven can lead to a host of issues, including reduced efficiency, altered food taste, and unpleasant odors. Each time you cook in a soiled oven, you risk contaminating your food with remnants of past meals. Furthermore, grease buildup increases the risk of fire. Regular oven cleaning prevents these problems, ensures your appliance performs optimally, and prolongs its lifespan. Given the investment in built-in or range ovens, routine maintenance is essential.
Personal Tip: Regular cleaning not only extends the life of your oven but also keeps your food tasting fresh and uncontaminated.
How Do I Know It’s Time to Clean My Oven?
There are four key indicators that your oven needs cleaning:
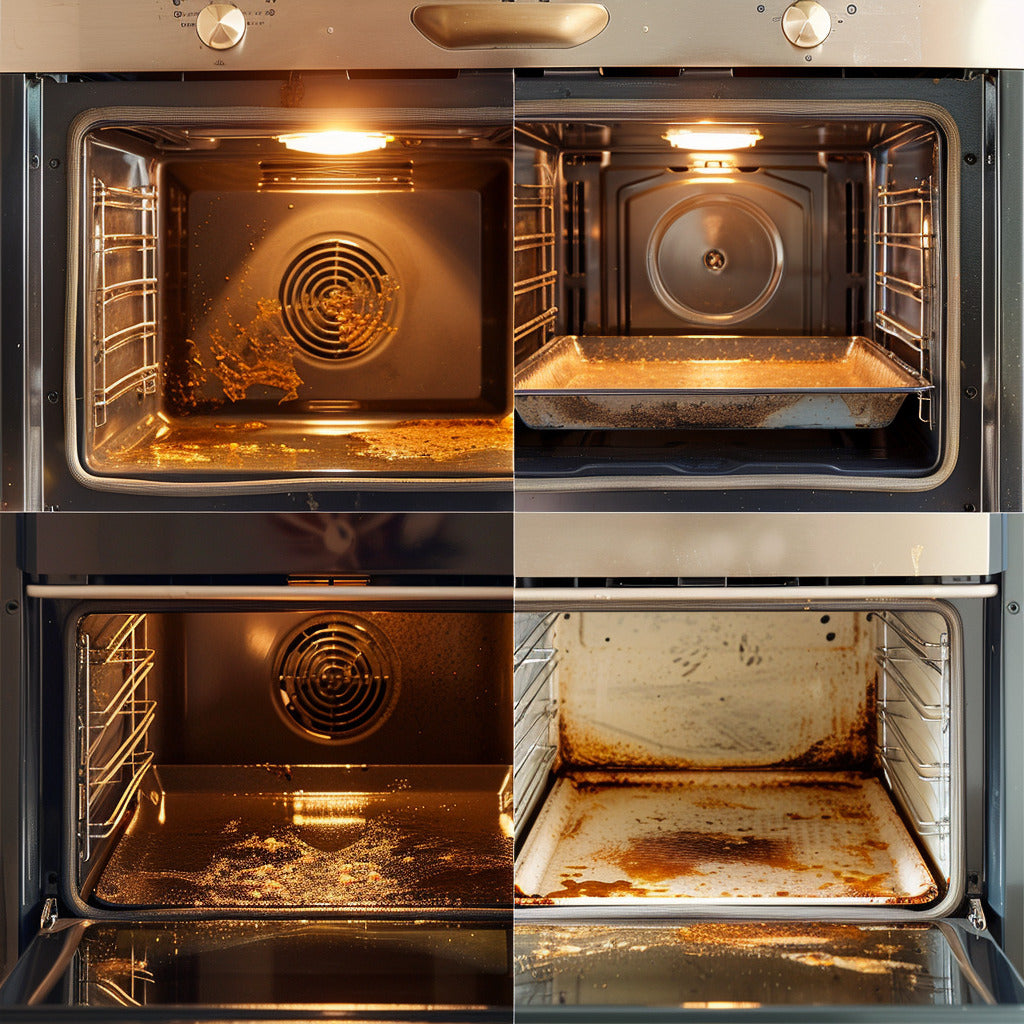
- General Appearance: Visible residue or crusts of old food signal it’s time for a deep clean.
- Bad Smell: If you notice a distinct odor when heating the oven, it’s a sign of lingering old food or dirt.
- Smoke: A properly functioning oven shouldn’t smoke. If yours does, cleaning is overdue.
- Reduced Efficiency: If your oven isn't performing as it used to, a thorough cleaning can help restore its efficiency.
Personal Tip: Set a reminder to inspect your oven monthly, addressing these signs early to avoid more challenging cleaning later.
Why is Oven Cleaning an Important Chore?
Although it may seem tedious, cleaning your oven regularly is crucial for several reasons:
- Safety: A clean oven reduces fire hazards caused by grease buildup.
- Health: Residual food in a dirty oven can affect both the taste and safety of your meals.
- Efficiency: Cleaning your oven ensures it operates at peak performance and extends its lifespan.
Personal Tip: A clean oven cooks food more evenly, so your dishes will turn out better with less risk of undercooking or overcooking.
DIY Oven Cleaning vs. Professional Oven Cleaning
DIY Cleaning:
- Cost: DIY cleaning is budget-friendly and saves money on professional services.
- Surface Cleaning: While effective for visible grime, you might miss dirt hidden in deeper parts of the oven.
Professional Cleaning:
- Cost: Professional cleaning is more expensive but guarantees thorough cleaning.
- Deeper Cleaning: Experts use specialized tools to clean the oven’s interior mechanisms, ensuring no hidden grime is left behind.
Personal Tip: For regular maintenance, DIY is often sufficient, but schedule a professional cleaning once or twice a year for a deep clean.
How to Clean Your Oven Yourself – A Comprehensive Guide
Things You’ll Need:
- Store-bought oven cleaner or homemade mixture (baking soda, water, and vinegar)
- Rubber gloves and safety glasses
- Newspapers or paper towels
- Damp cloth rags
- Scouring pumice (optional)
- Large plastic garbage bags
Step-by-Step Guide:
-
Remove Oven Contents: Take out all racks, pizza stones, and thermometers.
Personal Tip: Always remove all items before cleaning to prevent accidental damage or missed spots.
-
Spread Newspapers: Lay newspapers or paper towels on the floor around your oven to catch drips and debris.
Personal Tip: This helps reduce the time spent cleaning up after the oven is spotless.
-
Apply Cleaning Solution: Wear gloves and safety glasses, then spray cleaner inside the oven, avoiding heating elements.
Personal Tip: Homemade solutions work just as well as store-bought, and they’re gentler on your appliance.
-
Fan Cleaning (If Applicable): Remove the fan, immerse it in the cleaning solution, then wipe it dry.
Personal Tip: Cleaning the fan ensures efficient airflow and heating.
-
Let Cleaner Sit: Allow the cleaner to work for 20-30 minutes for store-bought solutions or overnight for homemade mixtures.
-
Clean Oven Racks: Spray racks with cleaner, place them in a garbage bag, and let them sit for 20 minutes.
-
Wipe Down Surfaces: Wipe down all interior surfaces with a damp cloth to remove grime.
-
Rinse and Replace Racks: Rinse the racks with soapy water, use pumice for burnt spots, then replace them in the oven.
Personal Tip: Make sure everything is thoroughly dry before returning racks to prevent rust or damage.
Cleaning an Oven with Lemons
For mildly dirty ovens, lemons offer a natural cleaning option:
- Cut two lemons in half and place them in an oven-safe dish filled with water.
- Set the oven to 250°F and place the dish inside for one hour.
- Let the oven cool, then wipe surfaces with a damp rag.
Personal Tip: Lemons leave a fresh scent while loosening grime for easy cleaning.
Do Self-Cleaning Ovens Need Manual Cleaning?
Yes, even self-cleaning ovens require manual cleaning from time to time. Self-cleaning functions can cause fuses to burn out or overheat circuit boards. Additionally, the high heat (up to 900°F) can create fire risks. Manual cleaning with baking soda, vinegar, and ammonia is a safer option that avoids these issues.
Personal Tip: Avoid using harsh chemicals in self-cleaning ovens to protect the heating elements.
Although cleaning your oven can be time-consuming, it’s a necessary task for maintaining safety, efficiency, and the quality of your food. Whether you opt for DIY or professional cleaning, regularly maintaining your oven ensures better performance and a longer lifespan. For delicious, safe meals and a clean kitchen, make oven cleaning a routine part of your home care.
Personal Tip: Incorporate oven cleaning into your seasonal deep cleaning to keep it manageable and prevent long-term buildup.


