


Super Moist 3-Layer Chocolate Cake Recipe for Special Occasions
Share
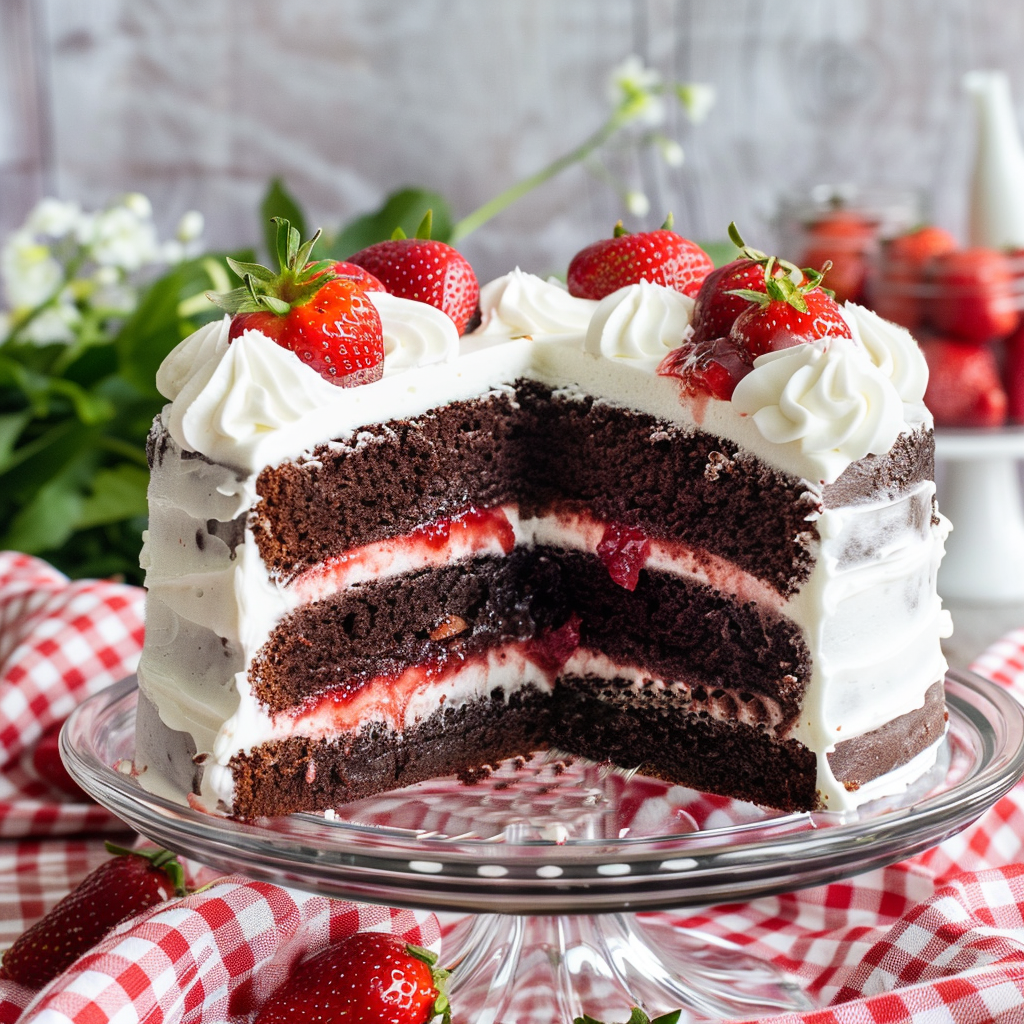
Super Moist 3-Layer Chocolate Cake for a Special Occasion
When you’re preparing a three-layer cake, it’s a bit more effort than a simple sheet cake, but it’s well worth it when celebrating something special. Often, we save these elaborate cakes for birthdays or special events when we want to make someone feel truly cherished. The time spent layering, frosting, and decorating becomes part of the joy of the occasion, and the result is a stunning centerpiece that everyone can appreciate. There’s something magical about a beautifully crafted cake that brings people together, and this 3-layer chocolate cake is the perfect way to go that extra mile for someone you care about.
Did You Know?
Three-layer cakes have become popular for special occasions due to their impressive appearance and symbolic meaning. Dating back to Victorian times, multi-layer cakes were a symbol of wealth and extravagance, often showcasing a family's social status. As baking techniques evolved and ingredients became more accessible, multi-layer cakes gained popularity for celebrations like weddings and birthdays, where they continue to be a centerpiece of joy and festivity today. This Super Moist 3-Layer Chocolate Cake exemplifies this tradition, offering a decadent treat that combines rich flavors with a sense of celebration.
Yield: 12 servings
Ingredients:
Cake:
2 1/2 cups all-purpose flour
1 1/4 cups granulated sugar
1 cup unsweetened cocoa powder
2 tsp baking powder
1 1/2 tsp baking soda
1 tsp salt
3 large eggs
1 1/2 cups whole milk
1 cup vegetable oil
2 tsp vanilla extract
1 1/2 cups boiling water
Buttercream Frosting:
1 cup unsalted butter, softened
2 cups powdered sugar
1/4 cup heavy cream
2 tsp vanilla extract
Pinch of salt
Strawberry Jam:
1 cup strawberry jam (for filling and topping)
For Garnish:
Fresh strawberries
Instructions:
Prepare the Cake:
Preheat your oven to 350°F (175°C). Grease and flour three 9-inch round cake pans.
In a large bowl, sift together the flour, sugar, cocoa powder, baking powder, baking soda, and salt.
Add the eggs, milk, oil, and vanilla extract. Beat on medium speed until well combined.
Reduce speed to low and carefully add the boiling water to the batter. Beat on high speed for about 1 minute to add air to the batter.
Divide the batter evenly among the prepared cake pans.
Bake for 30-35 minutes, or until a toothpick inserted into the center comes out clean.
Allow cakes to cool in the pans for 10 minutes, then remove from pans and cool completely on wire racks.
Personal Tip: Cooling the cakes thoroughly helps ensure a smooth frosting process.
Make the Buttercream Frosting:
In a large bowl, beat the softened butter on medium speed until creamy.
Gradually add powdered sugar, 1 cup at a time, beating on low speed until well combined.
Add the heavy cream, vanilla extract, and salt. Beat on high speed for about 3 minutes until the frosting is light and fluffy.
Personal Tip: If the frosting is too thick, add a little more heavy cream to reach your desired consistency.
Assemble the Cake:
Place one cake layer on a serving plate. Spread a layer of buttercream frosting over the top.
Spread a thin layer of strawberry jam over the frosting.
Place the second cake layer on top and repeat the process with buttercream and strawberry jam.
Place the third cake layer on top. Frost the entire cake with the remaining buttercream frosting.
Personal Tip: Use an offset spatula to create smooth frosting layers for a polished finish.
Decorate the Cake:
Garnish with fresh strawberries on top.
Serve this indulgent chocolate cake at your next gathering and delight in the combination of rich chocolate, creamy frosting, and sweet strawberry jam.
Nutritional Information (Per Serving):
Calories, 530 | Total Fat, 28g | Saturated Fat, 12g | Cholesterol, 110mg | Sodium, 350mg | Total Carbohydrates, 63g | Dietary Fiber, 4g | Sugars, 45g | Protein, 6g
Kitchen Tips, Great Ideas, How to Save Money
-
Choosing Ingredients: Opt for high-quality cocoa powder and fresh strawberries to enhance the flavor profile of your chocolate cake. Look for sales on bulk purchases to save money on these key ingredients.
-
Baking Preparation: Properly grease and flour your cake pans to ensure easy release and prevent sticking. This simple step saves time and frustration during cake assembly.
-
Moisture Retention: Add a tablespoon of vegetable oil to the batter to help the cakes retain moisture, ensuring a soft and tender crumb that lasts.
-
Decorating Tips: Use fresh strawberries not only as a garnish but also as a flavorful addition between layers. This enhances both the taste and visual appeal of your cake.
-
Budget-Friendly Frosting: Make your buttercream frosting from scratch using basic pantry staples like butter, powdered sugar, and vanilla extract. It's cost-effective and allows for customization of sweetness.
-
Storage Tips: Store leftover cake slices in an airtight container in the refrigerator to maintain freshness. This prevents the cake from drying out and preserves its flavor for longer enjoyment.
-
Freezing Options: Freeze individual cake slices wrapped in plastic wrap and placed in a freezer-safe container. This method allows you to enjoy slices over time without compromising taste.
-
Presentation Ideas: Enhance the cake's presentation by dusting the top with cocoa powder or sprinkling chocolate shavings. This adds a touch of elegance without extra cost.
-
Adapting for Allergies: Modify the recipe by using gluten-free flour and dairy-free alternatives for those with dietary restrictions. It broadens your audience and accommodates various preferences.
-
Homemade Gifts: Share slices of this decadent chocolate cake with friends and family on special occasions. Homemade gifts not only save money but also convey thoughtfulness and care.
Let’s Learn About Baking Pans
When baking a layered cake, the type and size of the baking pan can make all the difference. There are a variety of options, each with its pros and cons.
Round Pans:
Round pans are commonly used for multi-layer cakes. They create the classic cake shape that’s easy to stack. 8-inch and 9-inch round pans are the most popular sizes. The smaller the pan, the thicker your cake layers will be. These pans allow for even heat distribution, resulting in a uniform rise.
Square Pans:
Square pans, while less traditional for layered cakes, are great for creating a modern and clean look. They are also easier to cut into equal portions. However, square pans can sometimes bake unevenly, so turning the pan halfway through baking is recommended.
Material Matters:
Baking pans come in different materials, each with its own benefit. Metal pans, especially aluminum, are excellent for conducting heat, allowing for quicker and more even baking. Glass pans retain heat better, which can lead to more even baking but may require a longer baking time. Nonstick pans are helpful for easy cake release, but they can darken the edges of the cake if not carefully monitored.
Tips for Success:
When baking with different types of pans, always adjust your baking time based on the material and size of the pan. For instance, glass and dark metal pans may require a slight reduction in oven temperature to avoid over-browning. Always grease and flour the pans well, or use parchment paper to ensure your cakes come out perfectly every time.