


Search Title: How to Remove Sticky Residue from Containers: 5 Easy Methods Using Household Items
Share
How to Remove Sticky Residue from Containers
Sticky residue on containers can be frustrating and difficult to remove, especially if it’s left behind by labels, tape, or adhesive products. Here are five effective methods to remove sticky residue from containers using common household items. Additionally, once your containers are clean and free of sticky residue, consider repurposing them for pantry storage with new labels to help organize your kitchen and keep pests at bay.
1. Use Warm Soapy Water
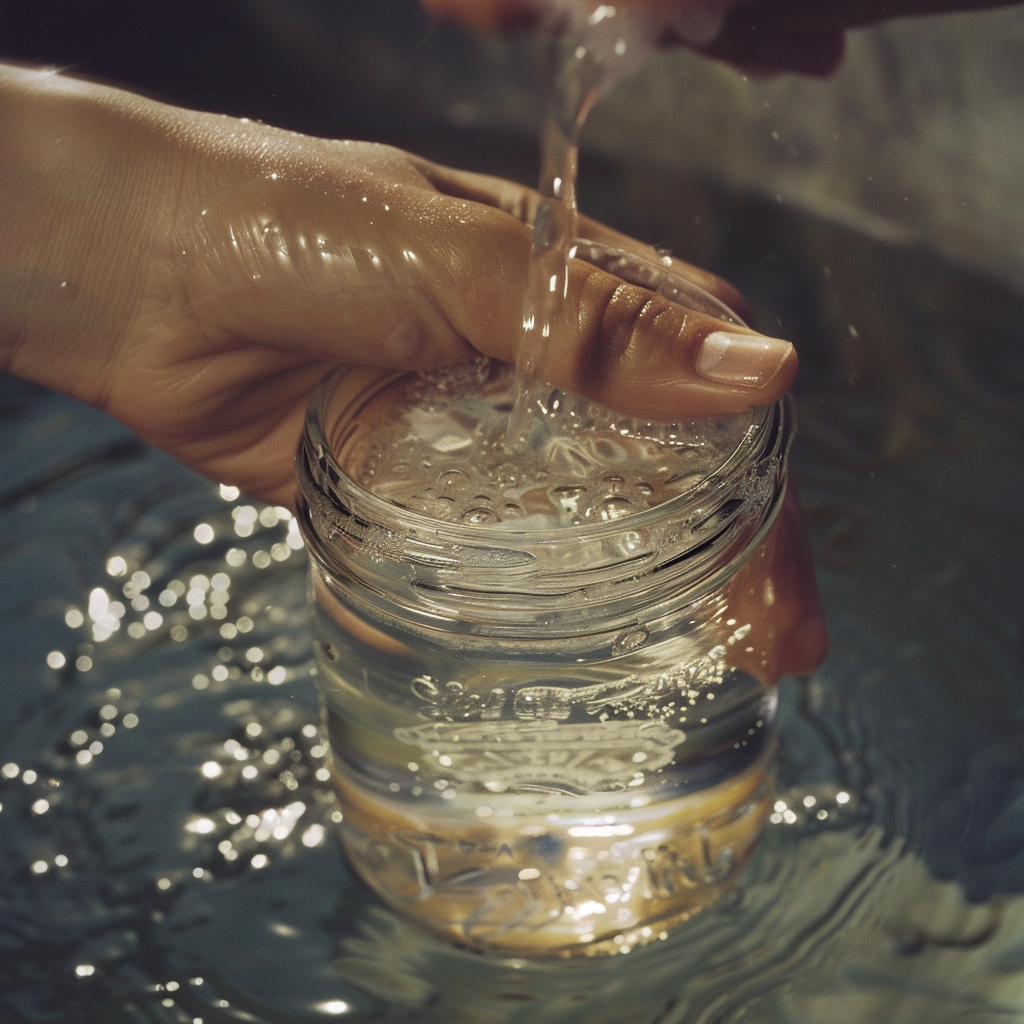
Steps to Remove Residue: Soak the Container: Fill a sink or basin with warm water and add a few drops of dish soap. Submerge the container and let it soak for 10-15 minutes. Scrub the Residue: Use a sponge or dishcloth to scrub the sticky residue. The warm soapy water helps to soften the adhesive, making it easier to remove. Rinse and Dry: Rinse the container with clean water and dry it with a towel.
Why It Works: Warm soapy water softens the adhesive, making it easier to scrub away without damaging the container.
Additional Tips: For stubborn residue, soak the container longer, or use a scrubbing brush to apply more pressure. Use a dish soap that is known for its grease-cutting properties to help break down the adhesive.
2. Apply Baking Soda Paste
Baking Soda Paste Recipe: Ingredients: Baking soda, water. Recipe: Mix baking soda with a small amount of water to create a thick paste. Application: Apply the paste to the sticky residue and let it sit for a few minutes. Scrub gently with a sponge or cloth. Rinse and Dry: Rinse the container thoroughly with water and dry it with a towel.
Why It Works: Baking soda is a mild abrasive that helps to break down and lift sticky residue without scratching the surface of the container.
Additional Tips: Add a few drops of dish soap to the baking soda paste for extra cleaning power. Use a toothbrush to apply the paste in hard-to-reach areas or on textured surfaces.
3. Use White Vinegar
Steps to Remove Residue: Soak a Cloth: Soak a cloth or paper towel in white vinegar. Apply to Residue: Place the soaked cloth over the sticky residue and let it sit for 5-10 minutes. Scrub and Rinse: Scrub the area with the cloth, then rinse the container with water and dry it.
Why It Works: Vinegar is acidic and can dissolve sticky residues, making them easier to remove.
Additional Tips: For tough residue, heat the vinegar slightly before soaking the cloth to enhance its effectiveness. Combine vinegar with baking soda for a fizzing reaction that can help lift the residue.
4. Try Rubbing Alcohol
Steps to Remove Residue: Soak a Cotton Ball: Soak a cotton ball or cloth in rubbing alcohol. Apply to Residue: Rub the soaked cotton ball over the sticky residue until it begins to lift. Wipe and Rinse: Wipe the area with a clean cloth, then rinse the container with water and dry it.
Why It Works: Rubbing alcohol breaks down the adhesive, making it easier to wipe away.
Additional Tips: Test rubbing alcohol on a small, inconspicuous area of the container first to ensure it doesn’t damage the surface. Use a higher concentration of alcohol for more stubborn residues.
5. Use Cooking Oil
Steps to Remove Residue: Apply Oil: Apply a small amount of cooking oil (such as olive oil or vegetable oil) to the sticky residue. Let It Sit: Let the oil sit on the residue for a few minutes to soften the adhesive. Scrub and Wipe: Use a cloth or paper towel to scrub the residue, then wipe away the oil with a clean cloth. Wash and Dry: Wash the container with warm soapy water to remove any oily residue, then dry it.
Why It Works: Cooking oil helps to loosen the adhesive, making it easier to scrub away without damaging the container.
Additional Tips: Use coconut oil or baby oil as alternatives if you have them on hand. Follow up with a vinegar rinse to remove any lingering oil scent.
Repurposing Clean Containers for Pantry Storage
Once your containers are clean and free of sticky residue, you can repurpose them for pantry storage. Here are some tips on how to effectively use and label your containers:
1. Choose the Right Containers
Types of Containers: Glass Jars: Perfect for storing dry goods like rice, pasta, and beans. They are airtight and keep food fresh. Plastic Containers: Great for bulk items like flour and sugar. Ensure they are BPA-free and food-grade. Metal Tins: Ideal for spices and baking supplies. They provide a stylish look and protect contents from light and air.
Why It Works: Using the right type of container for different food items helps maintain freshness and prevents contamination.
2. Label Your Containers
Labeling Tips: Waterproof Labels: Use waterproof labels to ensure they don’t smudge or peel off over time. Chalkboard Labels: These are reusable and can be easily changed if you switch the contents of the container. Printed Labels: Print labels with the name of the item and the expiration date for easy identification.
Why It Works: Proper labeling helps you quickly find what you need and keeps your pantry organized.
3. Store Containers Properly
Storage Tips: Group Similar Items: Store similar items together, such as baking supplies in one area and snacks in another. Use Shelves and Racks: Utilize shelves and racks to maximize space and keep containers easily accessible. Rotate Stock: Place newer items behind older ones to ensure you use older items first and reduce waste.
Why It Works: Proper storage methods keep your pantry organized and make it easier to maintain.
Removing sticky residue from containers can be simple and effective with the right methods. Whether you use warm soapy water, baking soda paste, white vinegar, rubbing alcohol, or cooking oil, these household items can help you eliminate sticky messes without damaging your containers. Once your containers are clean, consider repurposing them for pantry storage with proper labeling and organization to keep your kitchen tidy and efficient. By following these steps, you can maintain a clean and well-organized kitchen, free from sticky residue and clutter.