


How to Can Cherries: Preserve Summer's Sweetness with This Step-by-Step Guide
Share
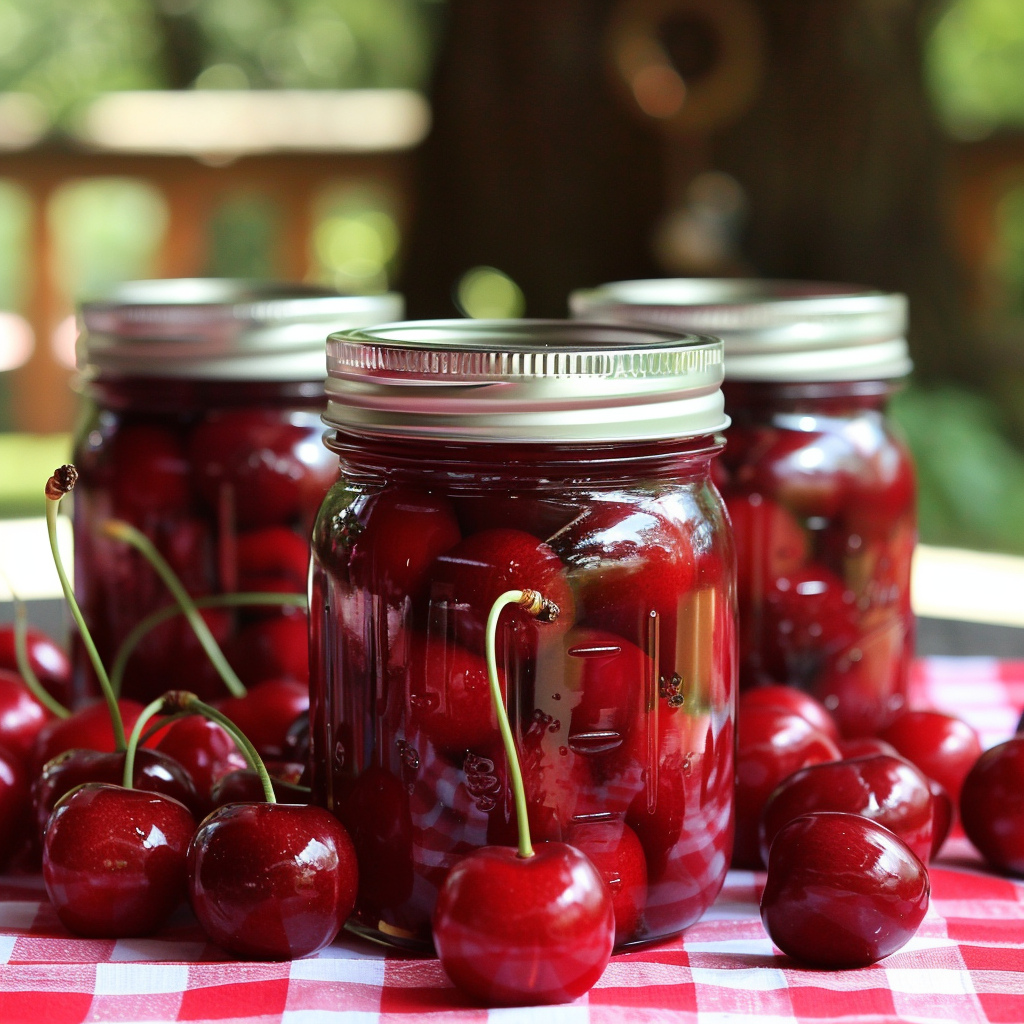
Preserving Cherries Brings a Taste of Summer to Winter Months
In the past, preserving food wasn’t just a seasonal activity—it was essential for survival. My grandmother and mother would spend long hours canning fruits, vegetables, and anything else that could last through the winter when fresh produce was unavailable. It was their way of ensuring we had food during the cold months, capturing the flavors of summer to enjoy later when the garden was bare. When my children were young, I followed in their footsteps, canning cherries, peaches, and tomatoes—not out of necessity, but to pass down the tradition and keep a connection to the past. While I don't can as much these days, I still cherish those memories and the skills they taught me.
Did You Know?
Cherries are packed with antioxidants and anti-inflammatory compounds. These tiny fruits are not only delicious but also beneficial for your health, aiding in reducing inflammation and promoting better sleep due to their natural melatonin content.
Yield: 6-7 quarts
Ingredients:
10 pounds fresh cherries (Bing, Rainier, or sour cherries)
Water
Lemon juice or ascorbic acid (to prevent browning)
For Sugar Syrup:
Light Syrup: 2 cups sugar to 4 cups water
Medium Syrup: 3 cups sugar to 4 cups water
Heavy Syrup: 4 cups sugar to 4 cups water
For Honey Syrup:
Light Syrup: 1 cup honey to 4 cups water
Medium Syrup: 1 1/2 cups honey to 4 cups water
Heavy Syrup: 2 cups honey to 4 cups water
Instructions:
1. Prepare the Jars:
Sterilize Jars: Wash jars, lids, and bands in hot, soapy water. Rinse well. Place jars in a large pot, cover with water, and boil for 10 minutes. Keep jars hot until ready to use.
Personal Tip: Heat lids in simmering water (not boiling) until ready for use. Do not boil. Set bands aside.
2. Prepare the Cherries:
Wash and Pit: Wash cherries thoroughly. Pit the cherries using a cherry pitter or a small knife.
Personal Tip: Treat cherries with a solution of water and lemon juice or ascorbic acid to prevent browning.
3. Make the Syrup:
For Sugar Syrup: In a large pot, combine sugar and water. Bring to a boil, stirring until the sugar is dissolved.
For Honey Syrup: In a large pot, combine honey and water. Heat until the honey is dissolved into the water. Do not boil.
Personal Tip: Adjust the sweetness of the syrup to taste by using more or less sugar or honey.
4. Pack the Jars:
Pack Cherries: Pack the pitted cherries into hot jars, leaving about 1/2-inch headspace.
Add Syrup: Pour hot syrup (sugar or honey) over the cherries, maintaining the 1/2-inch headspace.
Remove Air Bubbles: Run a non-metallic spatula around the inside of the jar to remove any air bubbles.
Wipe Rims and Apply Lids: Wipe jar rims with a clean, damp cloth. Apply lids and screw bands until fingertip tight.
Personal Tip: Use a funnel to make pouring the syrup into the jars easier and cleaner.
5. Process the Jars:
Boiling Water Bath: Place jars in a boiling water canner. Ensure they are covered by at least 1-2 inches of water. Process for 25 minutes for pints or 30 minutes for quarts.
Cool Jars: Remove jars and place them on a towel to cool for 12-24 hours. Do not disturb while cooling.
Check Seals: After cooling, check seals. Lids should not flex up and down when pressed. Store in a cool, dark place for up to a year.
Personal Tip: Label your jars with the date and contents before storing.
Nutritional Information (Per Serving - 1 cup of canned cherries):
Calories: 90 (sugar syrup), 100 (honey syrup), Protein: 1g, Carbohydrates: 24g, Fat: 0g, Sugars: 20g
Kitchen Tips, Great Ideas, How to Save Money:
1. Choose Ripe Cherries: Use fresh, ripe cherries for the best flavor and texture. Avoid overripe or bruised cherries.
2. Syrup Variations: Experiment with different types of honey (e.g., clover, wildflower) to find your preferred flavor profile.
3. Sterilization is Key: Always sterilize jars and lids to prevent contamination and ensure a long shelf life.
4. Prevent Browning: Treat cherries with a solution of water and lemon juice or ascorbic acid to prevent browning.
5. Proper Sealing: Ensure lids are fingertip tight, not over-tightened, to allow air to escape during processing.
6. Headspace is Important: Leave the correct amount of headspace to allow for expansion during processing and to ensure a proper seal.
7. Remove Air Bubbles: Removing air bubbles prevents trapped air, which can lead to spoilage. Use a non-metallic utensil to avoid damaging jars.
8. Storage Conditions: Store canned cherries in a cool, dark place to maintain quality and prevent spoilage. Avoid storing near heat sources or in direct sunlight.
9. Labeling Jars: Always label jars with the date and contents. This helps keep track of inventory and ensures you use older jars first.
10. Reuse and Recycle: Save money by reusing jars from store-bought products. Just ensure they are properly sterilized before use.
Let's Learn A Little About Different Cherry Varieties:
Cherries come in a variety of types, each with its own unique flavor and texture. The most popular varieties for canning include Bing cherries, which are large, sweet, and dark red, making them perfect for desserts or eating fresh. Rainier cherries are golden with a red blush and have a sweet, delicate flavor. They are often prized for their beautiful color and complex taste. On the tart side, Montmorency cherries are the classic sour cherries used in pies and jams. Each variety has its own characteristics, so whether you're canning for sweets or for savory dishes, there's a cherry that fits your needs.