


Grandma’s Classic Banana Bread Recipe: Nostalgic, Easy, and Delicious
Share
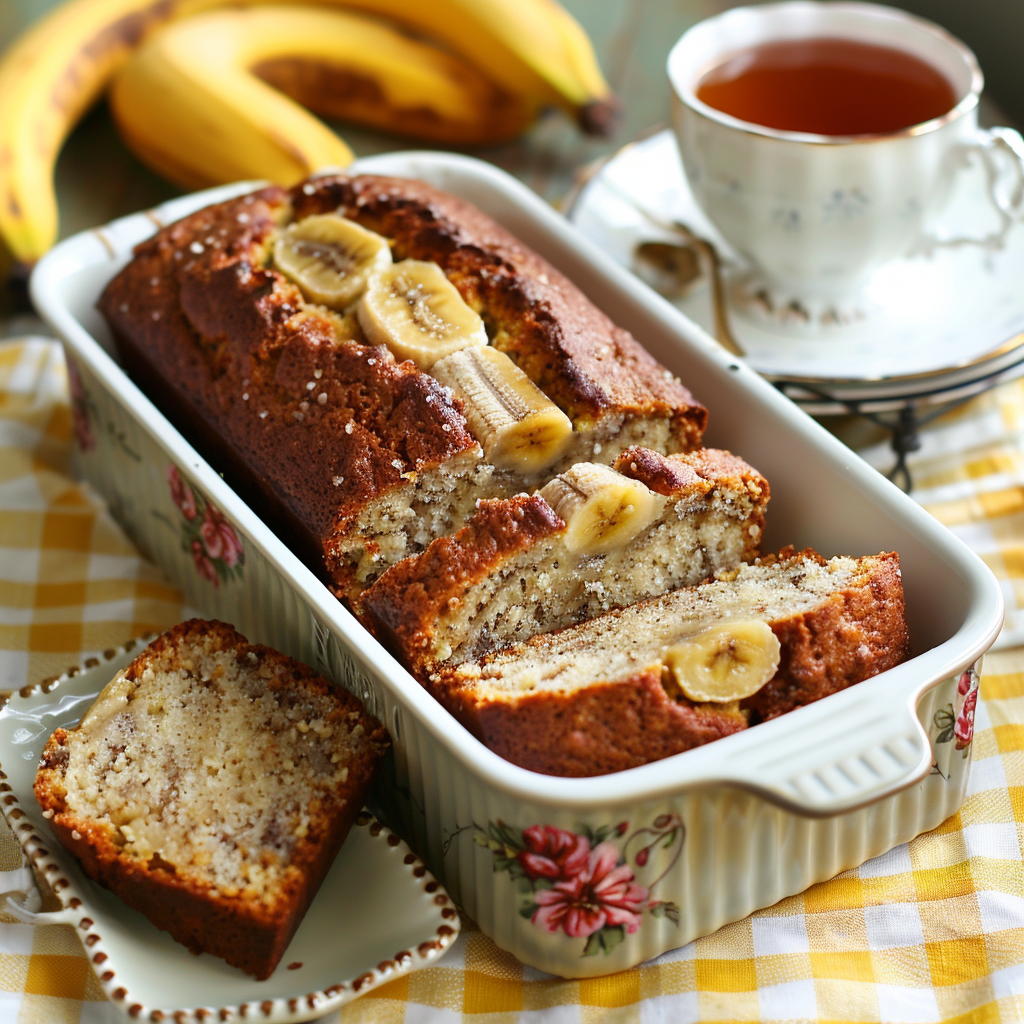
Grandma’s Classic Banana Bread Recipe
When it comes to baking something that fills the house with warmth and the comforting aroma of ripe bananas, this banana bread recipe is a cherished favorite in my family. It’s the recipe I turn to when I want to bring a bit of nostalgia into my kitchen. I remember how my grandmother’s kitchen was always filled with the scent of banana bread baking in the oven, and she would let me help with adding the ingredients. This banana bread is moist, sweet, and always brings back those sweet memories of Grandma’s kitchen. Here’s how I make this delightful treat, along with some tips I’ve picked up over the years.
Did You Know?
Bananas are more than just a tasty fruit—they’re technically berries! I was fascinated when I first learned that, and now I always think about their “berry” nature when I’m mashing them for banana bread. Bananas have been cultivated for thousands of years and are packed with potassium, making them a great choice for a healthy treat. The next time you see those overripe bananas on your counter, remember that their natural sweetness and berry-like qualities are perfect for baking.
Yield: 10-12 slices
Ingredients:
- 1 1/2 cups all-purpose flour
- 1 teaspoon baking soda
- 1/2 teaspoon salt
- 1/2 cup sugar
- 1/4 cup unsalted butter, softened
- 3 ripe bananas, mashed
- 1 large egg
- 1 teaspoon pure vanilla extract
Instructions:
Preheat the Oven:
Personal Tip: I always preheat my oven as the very first step to ensure it’s at the right temperature by the time I’m ready to bake. It makes a big difference in how evenly the bread cooks.
Preheat your oven to 350°F (175°C). Grease a 9x5 inch loaf pan.
Mix Dry Ingredients:
Personal Tip: Sifting the dry ingredients together helps avoid any clumps and makes sure everything is evenly distributed, which I find gives the bread a better texture.
In a bowl, whisk together the flour, baking soda, and salt.
Cream Butter and Sugar:
Personal Tip: When creaming the butter and sugar, I like to let it go a little longer until it’s really light and fluffy. This helps give the banana bread a softer crumb.
In another bowl, cream together the sugar and butter until light and fluffy. Add the mashed bananas, egg, and vanilla extract, and mix well.
Combine and Bake:
Personal Tip: Be careful not to overmix once you combine the dry and wet ingredients. I’ve found that mixing until just combined helps keep the bread tender and avoids it becoming tough.
Gradually add the dry ingredients to the wet ingredients, mixing until just combined. Pour the batter into the prepared loaf pan.
Bake:
Personal Tip: I always check the bread a few minutes before the end of the baking time by inserting a toothpick into the center. If it comes out clean, the bread is done. Every oven is a bit different, so I’ve learned it’s good to check early.
Bake for 60-70 minutes, or until a toothpick inserted into the center comes out clean. Allow to cool before slicing.
Serve:
Personal Tip: I love serving this banana bread warm with a little butter spread on top. It’s also great toasted the next day!
This banana bread is perfect for breakfast, a snack, or even dessert. Slice it up and enjoy with a hot cup of coffee or tea.
Nutritional Information (Per Serving):
Calories, 240 | Fat, 9g | Saturated Fat, 5g | Carbohydrates, 37g | Fiber, 2g | Sugars, 18g | Protein, 4g
Kitchen Tips, Great Ideas, How to Save Money
- Choosing the Right Bananas: Use very ripe bananas with brown spots for the best flavor and sweetness. They mash easily and infuse the bread with a rich banana taste.
- Customizing the Flavor: Enhance the flavor by adding a dash of cinnamon or nutmeg to the dry ingredients. You can also mix in chopped nuts like walnuts or pecans for added crunch and texture.
- Making It Healthier: Substitute part of the all-purpose flour with whole wheat flour or almond flour to increase fiber content and nutritional value without compromising on taste.
- Adding Moisture: To keep your banana bread moist, consider adding a tablespoon of sour cream or Greek yogurt to the batter. This also adds a slight tangy flavor.
- Reducing Sugar: If you prefer a less sweet banana bread, reduce the sugar by a quarter or use alternatives like honey or maple syrup. The ripe bananas already contribute natural sweetness.
- Baking Tips: For even baking, place the loaf pan in the center of the oven. Rotate the pan halfway through baking to ensure uniform rise and browning.
- Storage and Freshness: To keep banana bread fresh longer, store it in an airtight container at room temperature for up to 3 days. You can also wrap slices individually and freeze them for up to 3 months.
- Creative Serving Ideas: Serve banana bread slices toasted and spread with butter or cream cheese for a delightful breakfast or afternoon snack. It pairs well with a hot cup of coffee or tea.
- Gift Idea: Bake mini loaves or muffins and wrap them in decorative paper or foil for a thoughtful homemade gift. Tie with a ribbon and include the recipe for a personal touch.
- Reducing Waste: If you have overripe bananas that you can't use immediately, peel them, and freeze them in a zip-top bag. Thawed bananas are perfect for baking banana bread later.
The Differences in Baking Flours
Understanding the differences between various types of baking flours can significantly impact the outcome of your banana bread. All-purpose flour, used in this recipe, is versatile and provides a good balance of gluten, giving the bread a soft yet sturdy structure. Whole wheat flour has higher fiber content and adds a slightly nutty flavor but can make baked goods denser if used exclusively. Almond flour is gluten-free and adds moisture due to its fat content, making it a popular choice for those following low-carb or gluten-free diets. Choosing the right flour based on your dietary needs and flavor preferences can help you create the perfect banana bread every time.
2 comments
Sounds like a good snack
Can you use oil instead of butter.