


Easy Homemade Sesame Breadsticks Recipe - Perfect for Snacking and Appetizers
Share
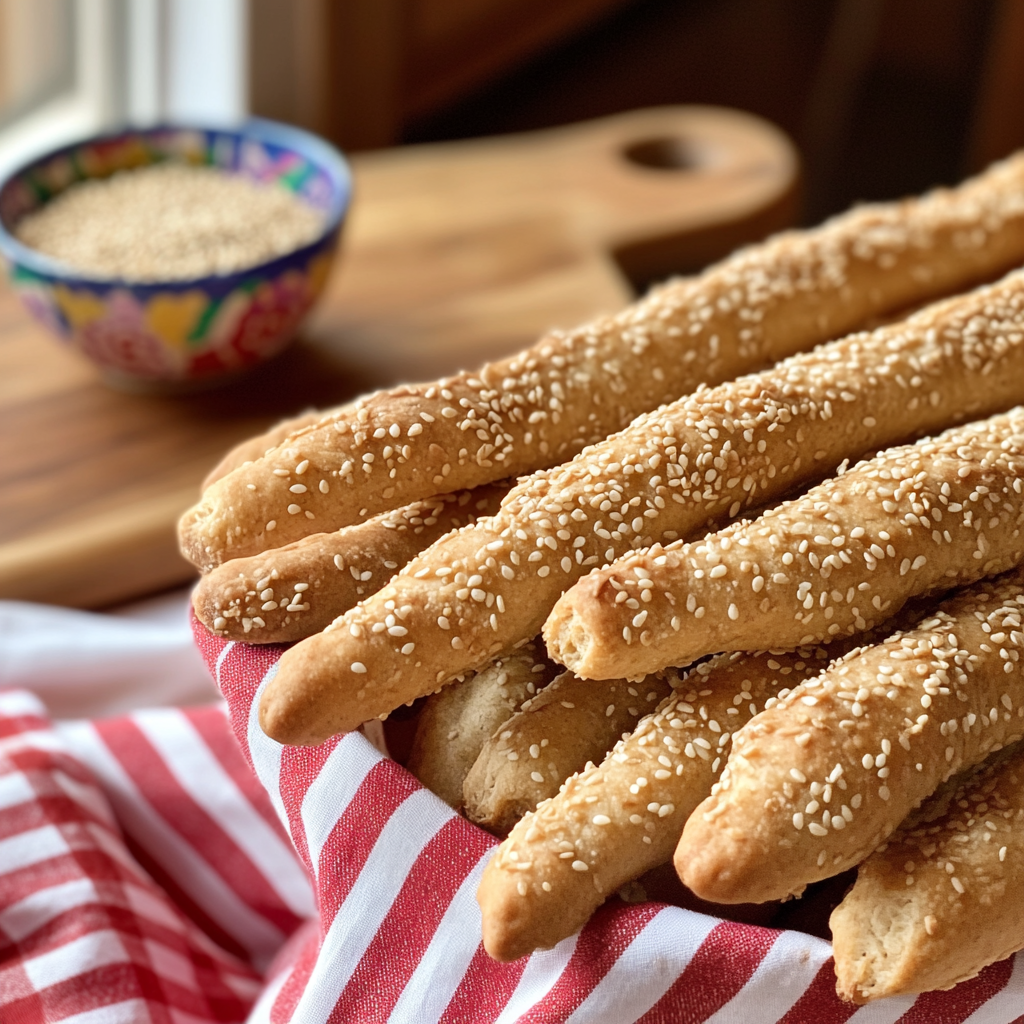
Generations of Baking: Easy Sesame Seed Breadsticks
These sesame seed breadsticks are a recipe that has been passed down through generations in my family. They’re easy to make, versatile, and perfect for lunchboxes or as a fun side with soup. I remember my grandmother and mother both making these breadsticks, and now I love making them for my own family. The nutty flavor of the sesame seeds adds a delightful crunch, but they can be made without seeds for those who prefer a simpler version. Whether you enjoy them on their own or as part of a meal, these breadsticks are a delicious reminder of the joys of homemade baking.
Did You Know?
Breadsticks, also known as "grissini" in Italian cuisine, originated in the region of Piedmont in Italy. They date back to the 17th century and were created as a light and crunchy alternative to traditional bread. Breadsticks are versatile and can be flavored with various herbs, cheeses, or seeds. Sprinkling sesame seeds on top not only adds a nutty flavor but also provides a delightful crunch. These breadsticks are easy to make and perfect for any occasion.
Yield: Makes 24 Breadsticks
Ingredients:
- 2 1/2 cups all-purpose flour
- 1 teaspoon salt
- 1 teaspoon sugar
- 2 1/4 teaspoons active dry yeast
- 1 cup warm water (110°F)
- 2 tablespoons olive oil
- 1 egg, beaten
- 2 tablespoons sesame seeds
Instructions:
Prepare the Dough:
In a small bowl, dissolve the yeast and sugar in warm water. Let it sit for about 5 minutes until frothy. In a large mixing bowl, combine the flour and salt. Make a well in the center and add the yeast mixture and olive oil. Mix until a soft dough forms.
Personal Tip: If the dough is too sticky, add a little more flour; if it's too dry, add a bit more water. This balance ensures a perfect dough texture.
Knead the Dough:
Turn the dough out onto a lightly floured surface and knead for about 5-7 minutes until smooth and elastic. Place the dough in a greased bowl, cover with a damp cloth, and let it rise in a warm place for about 1 hour, or until doubled in size.
Personal Tip: Proper kneading develops the gluten, giving the breadsticks their chewy texture.
Shape the Breadsticks:
Preheat your oven to 375°F (190°C) and line a baking sheet with parchment paper. Punch down the risen dough and divide it into 24 equal pieces. Roll each piece into a long, thin stick, about 10-12 inches in length. Place the breadsticks on the prepared baking sheet, spacing them about 1 inch apart.
Personal Tip: Roll each piece into a long, thin stick, about 10-12 inches in length for even baking.
Prepare for Baking:
Brush each breadstick with the beaten egg. Sprinkle sesame seeds evenly over the breadsticks.
Personal Tip: For an egg-free version, use milk or cream to brush the breadsticks before sprinkling the sesame seeds.
Bake the Breadsticks:
Bake in the preheated oven for 15-18 minutes, or until golden brown and crisp. Remove from the oven and let them cool on a wire rack.
Personal Tip: Keep an eye on them; they should be golden brown and crisp for the perfect bite.
Serve:
Serve the breadsticks warm or at room temperature. Enjoy them on their own or with your favorite dips and soups.
Personal Tip: These breadsticks are best enjoyed warm, but they also taste great at room temperature.
Nutritional Information (Per Serving):
Calories: 70 | Fat: 2g | Saturated Fat: 0.3g | Carbohydrates: 11g | Fiber: 1g | Sugars: 0.5g | Protein: 2g
Kitchen Tips, Great Ideas, How to Save Money
-
Proofing Yeast: Make sure your yeast is fresh and active by proofing it in warm water with a bit of sugar. If it doesn’t froth, start with new yeast to ensure the breadsticks rise properly.
-
Olive Oil Substitute: If you don’t have olive oil, you can use any vegetable oil or melted butter as a substitute. This can slightly alter the flavor but will still result in delicious breadsticks.
-
Sesame Seed Variations: Try using different seeds or herbs for variety, such as poppy seeds, flaxseeds, or dried rosemary. This can give your breadsticks a unique flavor and appearance.
-
Storing Leftovers: Store leftover breadsticks in an airtight container at room temperature for up to 3 days. For longer storage, freeze the breadsticks and reheat them in the oven before serving.
-
Serving Suggestions: Breadsticks are versatile and can be served with a variety of dips like marinara sauce, garlic butter, or hummus. They also pair well with soups and salads.
-
Eco-Friendly Practices: Use reusable silicone baking mats instead of parchment paper to reduce waste. Store leftovers in glass containers rather than plastic to keep food fresh longer and minimize environmental impact.
-
Kneading Tips: Knead the dough until it’s smooth and elastic. Proper kneading develops the gluten, which gives the breadsticks their chewy texture.
-
Rising Environment: Create a warm, draft-free environment for the dough to rise by placing the bowl in the oven with just the light on or on top of a warm appliance.
-
Egg Wash Alternative: For an egg-free version, use milk or cream to brush the breadsticks before sprinkling the sesame seeds. This helps the seeds adhere and gives a nice golden color.
-
Portion Control: For smaller servings, divide the dough into more pieces to make mini breadsticks. This can be great for appetizers or snacks.
Let’s Learn About Different Types of Flour
Flour is an essential ingredient in many recipes, and there are several types, each offering unique characteristics for various culinary needs:
-
All-Purpose Flour: This is the most common type of flour, versatile enough for baking bread, cakes, cookies, and more. It has a moderate protein content, making it suitable for most everyday baking.
-
Bread Flour: With a higher protein content, bread flour provides the gluten needed to create the chewy texture and structure in yeast breads.
-
Cake Flour: This flour has a lower protein content and is finely milled, resulting in lighter, more delicate cakes and pastries. It’s ideal for spongy, soft cakes and tender desserts.
-
Whole Wheat Flour: Made from the entire wheat kernel, it’s higher in fiber and nutrients compared to refined white flours. It gives baked goods a denser texture and a nuttier flavor.
-
Almond Flour: A gluten-free alternative, almond flour is made from finely ground almonds. It’s commonly used in gluten-free baking and adds a moist, nutty flavor.
-
Gluten-Free Flour Blends: These mixes often combine rice flour, tapioca flour, and potato starch to replace traditional wheat-based flours in gluten-free recipes.
-
Pastry Flour: With a lower protein content than all-purpose but higher than cake flour, pastry flour is ideal for light, flaky pastries like pie crusts and tarts.
-
Self-Rising Flour: This is all-purpose flour with added baking powder and salt, making it convenient for quick breads and biscuits.
When selecting flour, it's important to consider what you're baking. For example, bread flour provides more structure to bread due to its high gluten content, while cake flour ensures a soft, light crumb in cakes. Reading labels for added ingredients like preservatives or bleaching agents is also a good practice.