


Easy Homemade Dinner Rolls Recipe - Perfectly Soft and Buttery
Share
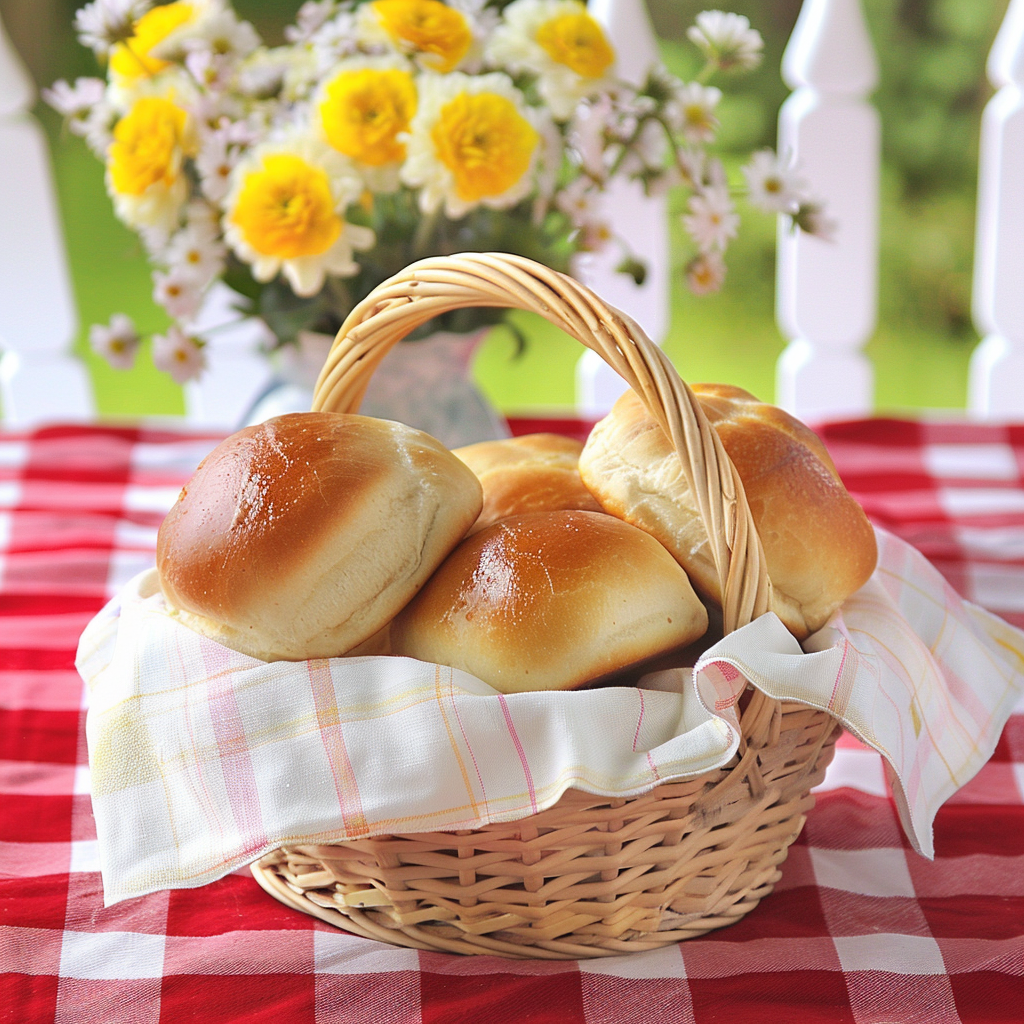
Dinner Rolls Are Very Easy To Prepare and Are Worth The Effort For Certain Occasions
Over my lifetime, there were times when baking bread and rolls was a regular part of my life, and other times when it took a backseat to the busyness of daily life. My mom, however, was a consistent bread baker—store-bought bread was something that simply didn’t exist in her kitchen. The smell of fresh bread was a constant, comforting presence in our home, and it’s something I’ve carried with me. There’s something incredibly satisfying about the process of baking your own bread, knowing that you’re creating something with love and care. It’s about more than just food; it’s about tradition, quality, and the joy of sharing something homemade with the people you care about. That’s why, for special occasions, I love to make dinner rolls from scratch. They’re a simple but essential part of a meal that can elevate any gathering.
Did You Know?
Dinner rolls are a staple in many cuisines around the world. They gained popularity in America in the early 19th century. Fun fact: The Parker House roll, a famous type of dinner roll, originated at the Parker House Hotel in Boston in the 1870s!
Yield: Makes 12 rolls
Ingredients:
- 3 1/2 cups all-purpose flour
- 1/4 cup sugar
- 1 teaspoon salt
- 1 packet (2 1/4 teaspoons) active dry yeast
- 1 cup warm milk (110°F/45°C)
- 1/4 cup butter, melted
- 1 large egg
Instructions:
-
Mix Dry Ingredients: In a large bowl, combine 1 1/2 cups of flour, sugar, salt, and yeast. Personal Tip: If you want a slightly sweeter roll, you can increase the sugar to 1/3 cup.
-
Add Wet Ingredients: Add the warm milk, melted butter, and egg to the dry ingredients. Mix well. Personal Tip: Ensure the milk is warm, not hot, to activate the yeast without killing it.
-
Add Remaining Flour: Gradually add the remaining flour, 1/2 cup at a time, until the dough is smooth and elastic. Personal Tip: The dough should be soft but not sticky. You may not need all the flour, so add it gradually.
-
Knead: Turn the dough out onto a floured surface and knead for 8-10 minutes, until the dough is smooth and elastic. Personal Tip: Knead until the dough bounces back when pressed with your finger. This indicates it's ready for the first rise.
-
First Rise: Place the dough in a greased bowl, cover with a clean towel, and let it rise until doubled in size, about 1 hour. Personal Tip: To speed up the rising process, place the bowl in a warm, draft-free area, like inside an oven with just the light on.
-
Shape: Punch down the dough to release the air. Divide the dough into 12 pieces, shape each piece into a roll, and place them in a greased baking dish. Personal Tip: To ensure evenly sized rolls, weigh the dough pieces with a kitchen scale before shaping.
-
Second Rise: Cover the rolls and let them rise until doubled in size, about 30-45 minutes. Personal Tip: If you’re in a rush, you can skip the second rise, but the rolls will be less fluffy.
-
Bake: Preheat your oven to 375°F (190°C). Bake the rolls for 20-25 minutes, or until they are golden brown. Personal Tip: For an extra golden crust, brush the tops with melted butter or an egg wash before baking.
-
Cool: Let the rolls cool slightly before serving. Personal Tip: Serve the rolls warm with a dab of butter for an irresistible treat.
Nutritional Information (Per Roll):
Calories: 180, Protein: 5g, Carbohydrates: 30g, Fiber: 1g, Net Carbohydrates: 29g, Fat: 5g, Saturated Fat: 3g, Cholesterol: 25mg, Sodium: 200mg, Sugars: 4g, Glycemic Index: Medium
Kitchen Tips, Great Ideas, How to Save Money
-
Flour Variations: Use bread flour for a chewier texture or whole wheat flour for added nutrition. A mix of both can also be used.
-
Adding Seeds: Add sesame seeds, poppy seeds, or sunflower seeds on top of the rolls before baking for extra texture and flavor.
-
Herb and Cheese Additions: Mix in dried herbs or shredded cheese for savory dinner rolls.
-
Storing Rolls: Store leftover rolls in an airtight container at room temperature for up to 3 days. Reheat in the oven to refresh them.
-
Freezing Tips: Freeze unbaked rolls after shaping. Place them on a baking sheet to freeze, then transfer to a freezer bag. Thaw in the refrigerator overnight and let rise before baking.
-
Kneading Tips: If you have a stand mixer with a dough hook, use it to knead the dough to save time and effort.
-
Proofing Dough: Create a warm environment for the dough to rise by placing the bowl in an oven with the light on or on top of a warm appliance.
-
Glazing Rolls: Brush the tops of the rolls with melted butter or an egg wash before baking for a shiny, golden crust.
-
Serving Suggestions: Serve dinner rolls with butter, honey, or jam. They also make great mini sandwich buns.
-
Cost-Saving Tips: Buy flour and yeast in bulk when they are on sale. Using store-brand ingredients can also help reduce costs without sacrificing quality.
The Differences In Yeasts
Yeast is a crucial ingredient in baking, and understanding the differences can help you achieve the best results in your recipes.
Active Dry Yeast: This is the most common type used in home baking. It comes in granules and needs to be dissolved in warm water before use. Active dry yeast has a longer shelf life and is great for most bread recipes.
Instant Yeast: Also known as rapid-rise or bread machine yeast, this type can be mixed directly into dry ingredients without needing to be dissolved first. It works faster than active dry yeast and is ideal for quick bread recipes.
Fresh Yeast: Also called cake yeast, fresh yeast comes in a compressed, crumbly form and has a shorter shelf life. It’s usually preferred by professional bakers for its strong and consistent rise. It needs to be dissolved in liquid before use.
Understanding these differences allows you to choose the right yeast for your baking needs, ensuring your bread and rolls rise beautifully every time.