


Easy Classic Dinner Rolls Recipe – Perfect for Any Meal
Share
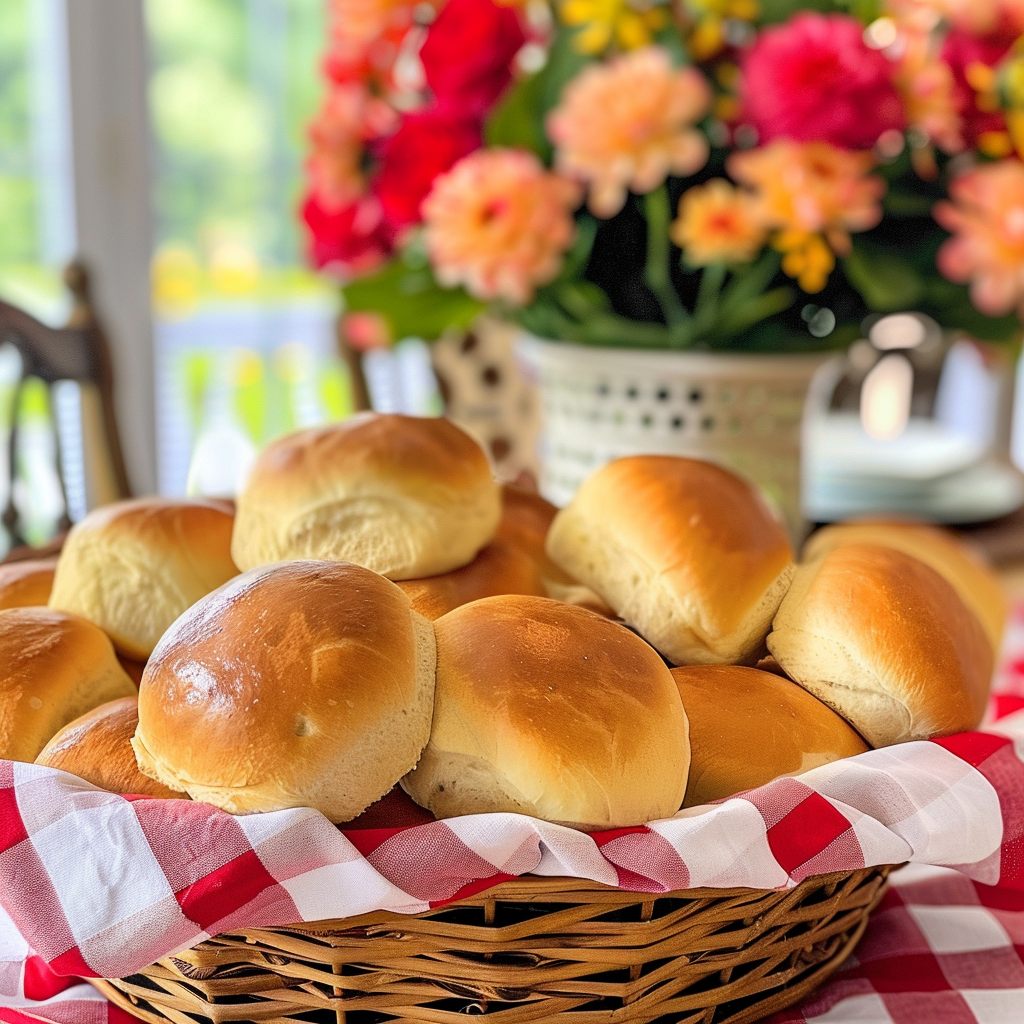
These Dinner Rolls Are Surprisingly Easy to Make
I come from a Ukrainian family where my mother baked buns. Depending on the menu, Sunday dinners often included fresh, warm buns, and it was a tradition that I grew up loving. What a lucky little girl I was! As a little girl, I remember how I would open the bun, pull out and eat all the fluffy white part before I would eat the crust. There was something so much fun about eating that soft, pillowy inside first. Even now, the smell of freshly baked dinner rolls takes me back to those Sundays, gathered around the table with family. Making these rolls at home always brings a sense of nostalgia, and they’re surprisingly easy to make, even if you’re not an experienced baker.
Did You Know?
Dinner rolls have been a staple in American households since the 19th century. The addition of honey in this recipe not only adds a subtle sweetness but also helps the rolls retain moisture, keeping them soft longer. Yeast, a key ingredient, has been used in bread making for thousands of years, and its ability to ferment and cause dough to rise has made it invaluable in baking.
Yield: 12 rolls
Ingredients:
- 2 1/4 tsp active dry yeast (1 packet)
- 1 cup warm water (110°F)
- 2 tbsp honey
- 3 cups all-purpose flour
- 1 tsp salt
- 3 tbsp unsalted butter, melted
- 1 large egg
Instructions:
Preheat Oven:
Preheat oven to 375°F (190°C). Grease a 9x13-inch baking dish.
Personal Tip: Greasing the dish ensures the rolls bake evenly and prevents them from sticking.
Activate Yeast:
In a large bowl, dissolve yeast in warm water. Add honey and let sit for 5 minutes until frothy.
Personal Tip: Make sure the water is warm, not hot, to properly activate the yeast for the best rise.
Mix Dough:
Add flour, salt, melted butter, and egg to the yeast mixture. Mix until a dough forms.
Personal Tip: Gradually add the flour to prevent the dough from becoming too dry.
Knead Dough:
Knead on a floured surface for 5 minutes until smooth and elastic.
Personal Tip: If using a stand mixer, knead the dough for about 5 minutes on medium speed.
Shape Rolls:
Divide dough into 12 equal pieces. Shape into balls and place in the baking dish.
Personal Tip: Make sure the rolls are evenly spaced to allow them to expand while baking.
Second Rise:
Cover and let rise in a warm place for 20-30 minutes until doubled in size.
Personal Tip: Letting the dough rise in a warm, draft-free area will ensure a light and fluffy texture.
Bake:
Bake for 15-18 minutes until golden brown.
Personal Tip: Rotate the dish halfway through baking for even browning.
Serve:
Brush with additional melted butter if desired. Serve warm.
Personal Tip: Brushing with butter adds a rich flavor and makes the rolls extra soft.
Nutritional Information (Per Roll):
Calories: 140, Protein: 4g, Carbohydrates: 23g, Fiber: 1g, Net Carbohydrates: 22g, Fat: 3g, Saturated Fat: 1.5g, Cholesterol: 25mg, Sodium: 170mg, Sugars: 4g, Glycemic Index: Medium
Kitchen Tips, Great Ideas, How to Save Money
-
Yeast Activation: Ensure the water is warm (110°F) but not hot to properly activate the yeast. This will help the dough rise better and result in fluffier rolls.
-
Kneading Dough: Knead the dough until it is smooth and elastic. This helps develop the gluten, which gives the rolls their structure and softness. If using a stand mixer, knead for about 5 minutes on medium speed.
-
Make Ahead: Prepare the dough the night before and let it rise overnight in the refrigerator. In the morning, bring the dough to room temperature before shaping and baking. This is perfect for fresh rolls without the morning rush.
-
Storing Leftovers: Store leftover rolls in an airtight container at room temperature for up to 2 days. For longer storage, keep them in the refrigerator or freeze for up to 3 months. Thaw and reheat as needed.
-
Serving Suggestions: Serve rolls warm with a pat of butter or a drizzle of honey. They are also great for making mini sandwiches or as a side to soups and stews.
-
Cost-Saving Tips: Buy flour, yeast, and honey in bulk to save money. Store yeast in the refrigerator or freezer to extend its shelf life. Using store-brand ingredients can also reduce costs without compromising quality.
-
Enhancing Flavor: Add herbs like rosemary or thyme to the dough for an aromatic twist. You can also sprinkle garlic powder or onion powder on top before baking for extra flavor.
-
Baking Evenly: Rotate the baking dish halfway through the baking time to ensure even cooking and a uniformly golden crust.
-
Gluten-Free Option: Substitute the all-purpose flour with a gluten-free flour blend. Ensure the yeast and other ingredients are also gluten-free for those with gluten sensitivities.
-
Brushing with Butter: Brushing the rolls with melted butter after baking adds a rich flavor and a beautiful shine to the crust. For a sweeter version, sprinkle a bit of coarse sugar on top before baking.
What About Using A Bread Machine To Start The Process?
If you have a bread machine, it can be a great tool to start the process of making dinner rolls. Simply add the ingredients to the bread machine in the order recommended by the manufacturer, usually starting with the liquids and ending with the yeast. Use the dough setting to mix and knead the dough. Once the cycle is complete, you can shape the rolls, let them rise, and bake them as usual. This method is a convenient way to streamline the process, especially if you're busy or new to bread making. Plus, it ensures the dough is mixed and kneaded perfectly every time!