


Easy and Fun Homemade Fruit Popsicles Recipe – No Preservatives or Artificial Colors
Share
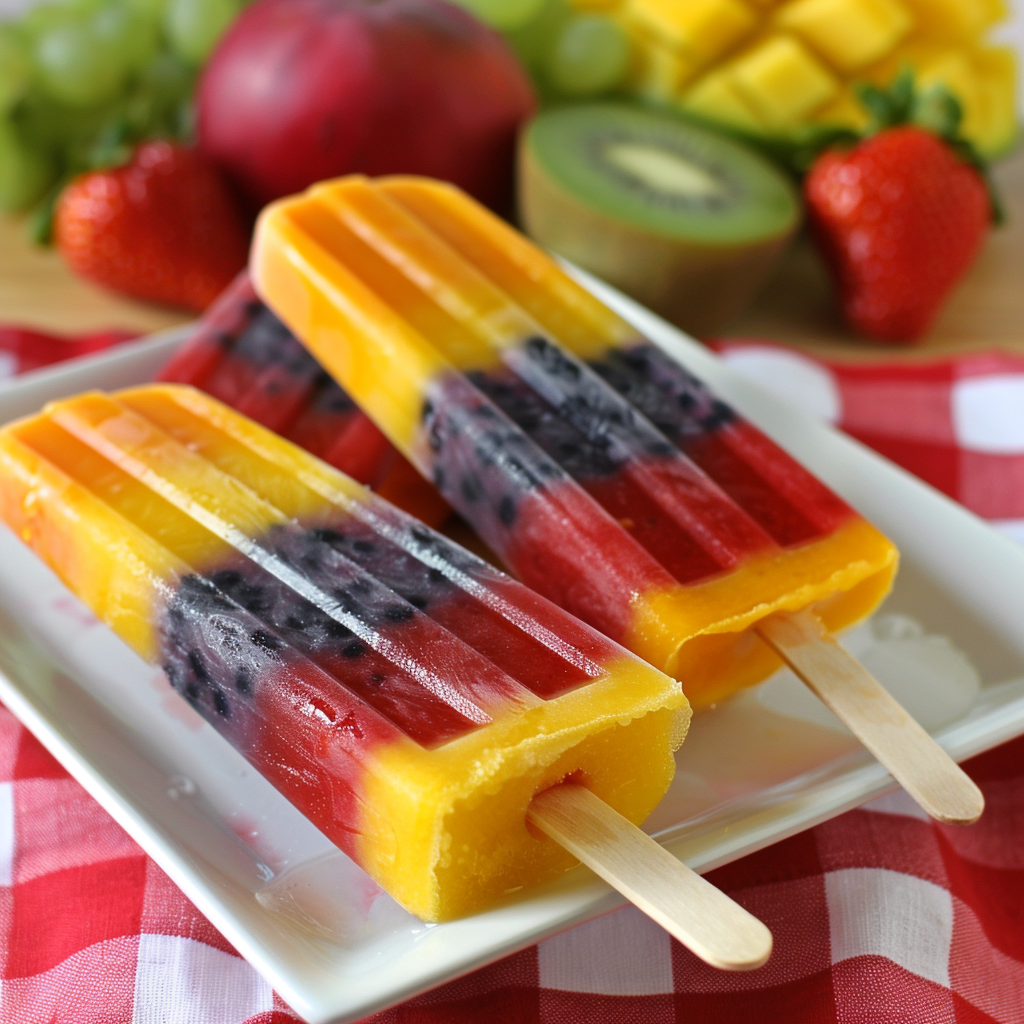
Fancy Little Popsicles That Are Fun to Make
If you’ve never made your own popsicles, let me tell you, it’s a skill worth picking up. Whether you’re 5 or 55, there’s something undeniably satisfying about a sweet, icy treat, especially one that you’ve crafted yourself. The best part? You know exactly what’s going into them—no artificial colors, no preservatives, just pure, wholesome goodness.
I remember my first time trying to make layered popsicles. It seemed simple enough—just pour in the puree and freeze, right? But let me tell you, getting those layers to stay distinct rather than swirling into a tie-dye mess takes a bit of finesse. The trick is patience. After you pour the first layer, you need to let it freeze solid before adding the next. This way, each layer stands proud, showing off its vibrant color and flavor.
It quickly became a bit of a fun challenge for me, seeing how many layers I could stack without them merging into a big swirl. And when they came out perfect, with sharp lines separating the juicy red of strawberries from the sunny yellow of mangoes, the sense of accomplishment was almost as sweet as the popsicle itself. It’s a delightful process, one that turns a simple snack into a work of art. Plus, knowing that the vibrant colors come from nature’s own palette, not from a lab, just adds to the satisfaction.
Did You Know?
Nutritional Benefits of Berries: Berries, such as strawberries, blueberries, and raspberries, are not only delicious but also packed with antioxidants, vitamins, and fiber. They can help reduce inflammation, improve heart health, and support digestion. Including berries in your diet provides a natural way to boost your immune system and enjoy sweet treats without added sugars. The vibrant colors of berries are also a visual indicator of their high nutrient content, making them a beautiful and healthy choice for desserts.
Yield: 6 servings
Ingredients:
2 cups mixed fruits (strawberries, blueberries, mangoes, kiwi)
1 cup coconut water or orange juice
1 tablespoon honey (optional)
Instructions:
Prepare the Fruits: Wash and chop the fruits into small pieces. Puree the fruits separately to maintain distinct colors and flavors.
Personal Tip: If you want a smoother consistency, you can strain the purees to remove any seeds or pulp before layering.
Layer the Purees: Pour the fruit purees into popsicle molds in layers. For a fun, colorful effect, you can use a spoon to slightly mix the layers.
Personal Tip: To achieve clean layers, freeze each layer for about 15-20 minutes before adding the next one.
Freeze: Insert sticks into the molds and freeze for at least 4 hours, or until fully frozen.
Personal Tip: Make sure the popsicles are completely frozen before trying to release them, as this ensures they hold their shape.
Serve: To release the popsicles, run warm water over the outside of the molds for a few seconds. Enjoy immediately.
Personal Tip: If you want to impress your guests, serve these popsicles in a bowl of ice to keep them cold longer during outdoor parties.
Nutritional Information (Per Serving): Calories: 50, Protein: 1g, Carbohydrates: 12g, Sugars: 9g, Total Fat: 0g, Saturated Fat: 0g, Sodium: 5mg, Fiber: 2g
Kitchen Tips, Great Ideas, How to Save Money
- Choose Ripe Fruits: Use ripe, sweet fruits to enhance the natural flavors of your popsicles. Seasonal fruits are often cheaper and taste better.
- Puree Consistency: Ensure the fruit purees are smooth for a better texture. If the mixture is too thick, add a bit more coconut water or juice.
- Sweetener Alternatives: If you prefer a sweeter popsicle, add a natural sweetener like honey or agave syrup. Taste the purees before freezing to adjust sweetness as needed.
- Layering Techniques: For a marbled effect, gently swirl the purees with a skewer or spoon before freezing. This creates a beautiful, artistic look.
- Reusable Popsicle Molds: Invest in reusable popsicle molds to reduce waste and save money in the long run. They are environmentally friendly and come in various fun shapes.
- Add-Ins: Consider adding small chunks of fruit, chia seeds, or mint leaves to the molds before pouring in the puree. These add texture and visual appeal.
- Hydration Boost: Coconut water is a great base for hydration. It’s low in calories and high in electrolytes, making these popsicles not only tasty but also hydrating.
- Quick Release: Run warm water over the outside of the molds briefly to release the popsicles without breaking them.
- Batch Making: Make a large batch and store the popsicles in a freezer bag. This way, you’ll always have a healthy treat ready for hot days.
- Creative Combinations: Experiment with different fruit combinations like pineapple-mango or strawberry-kiwi. Mixing fruits can create exciting new flavors and vibrant colors.
Let’s Learn A Little About Popsicle Molds:
Popsicle molds come in various shapes, sizes, and materials, making them versatile tools in your kitchen. Silicone molds are popular because they’re flexible and make it easy to pop out the frozen treats. Plastic molds are more rigid but often come in fun shapes that kids love. When choosing molds, consider the size and portion you want to create. Larger molds are great for adults, while smaller molds are perfect for kids or portion control. Molds with built-in drip guards help keep sticky fingers clean, especially for younger children. Reusable molds are not only eco-friendly but also allow you to customize your popsicles with different flavors, fruits, and even herbs. With proper care, they can last for years, making them a cost-effective addition to your kitchen.