


Decadent Gluten-Free Tiramisu: Indulge in Luxurious Coffee-Soaked Layers
Share
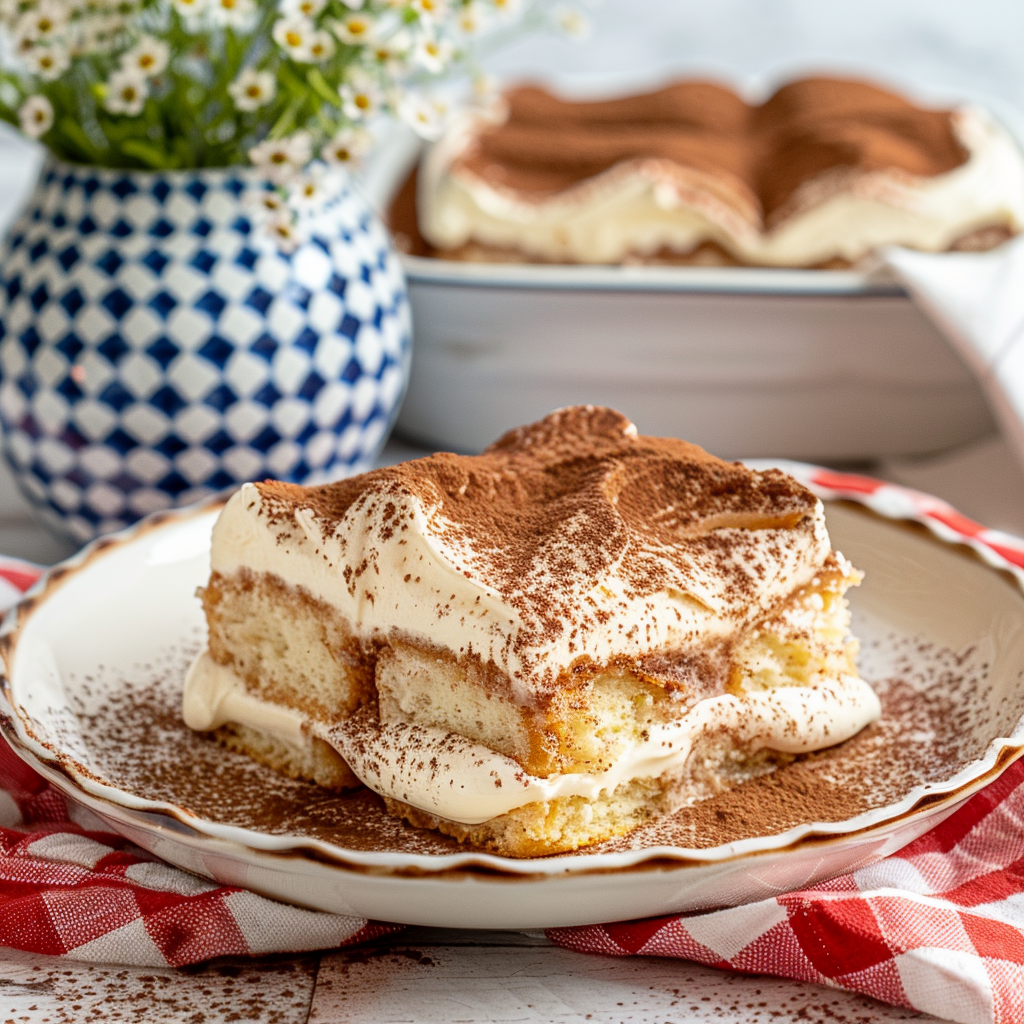
Experience the classic flavors of tiramisu in a gluten-free version that's perfect for any special occasion.
Tiramisu has always been a dessert that feels indulgent, like a special treat reserved for the finest moments. When I started seeing more people at gatherings asking for gluten-free options, I knew I had to adapt this classic into something everyone could enjoy. The gluten-free version of tiramisu retains all the luxuriousness of the original—the creamy layers, the rich coffee-soaked ladyfingers, and the light dusting of cocoa. What’s wonderful about this recipe is that it doesn’t sacrifice flavor or texture; instead, it feels just as decadent and satisfying as ever. It’s become my go-to dessert for parties because it’s a crowd-pleaser, perfect for covering all dietary preferences while still making everyone feel like they’re indulging in something truly special.
Did You Know?
Mascarpone cheese is the star of tiramisu, providing that smooth, velvety texture that we all love. This Italian cream cheese is made from just two ingredients: cream and citric or tartaric acid, which thickens the cream into a soft, rich cheese. Nutritionally, mascarpone is high in fat, which gives it its creamy consistency, but it’s also low in carbs, making it a great option for gluten-free desserts. It’s rich in calcium, essential for bone health, and offers a luxurious mouthfeel that elevates any dish it’s added to.
Yield: 8 servings
Ingredients:
- 1 cup strong brewed coffee, cooled
- 2 tablespoons rum or coffee liqueur
- 3 large eggs, separated
- 1/2 cup granulated sugar, divided
- 8 oz mascarpone cheese
- 1 cup heavy cream
- 1 teaspoon vanilla extract
- 1 package gluten-free ladyfingers
- Cocoa powder, for dusting
Instructions:
Prepare the Coffee Mixture:
In a shallow dish, combine the brewed coffee and rum or coffee liqueur. Set aside.
Personal Tip: Using freshly brewed and cooled coffee enhances the flavor. Choose a strong brew for a more intense taste.
Prepare the Mascarpone Cream:
In a medium bowl, beat the egg yolks with 1/4 cup of granulated sugar until thick and pale.
Add the mascarpone cheese and mix until smooth.
In a separate bowl, whip the heavy cream with the vanilla extract until stiff peaks form.
Gently fold the whipped cream into the mascarpone mixture until well combined.
Personal Tip: Whipping the cream just until stiff peaks form ensures a light and airy texture for the mascarpone cream.
Prepare the Egg Whites:
In another bowl, beat the egg whites with the remaining 1/4 cup of granulated sugar until stiff peaks form.
Gently fold the egg whites into the mascarpone mixture until no streaks remain.
Personal Tip: Folding the egg whites carefully into the mixture keeps the tiramisu light and fluffy.
Assemble the Tiramisu:
Dip each gluten-free ladyfinger into the coffee mixture, ensuring they are soaked but not soggy.
Arrange a layer of soaked ladyfingers in the bottom of an 8x8-inch dish.
Spread half of the mascarpone cream over the ladyfingers.
Repeat with another layer of soaked ladyfingers and the remaining mascarpone cream.
Dust the top generously with cocoa powder.
Personal Tip: Sifting the cocoa powder on top gives a professional finish and adds a slight bitterness that balances the sweetness.
Chill and Serve:
Refrigerate for at least 4 hours, preferably overnight, before serving.
Personal Tip: Letting the tiramisu chill overnight allows the flavors to meld together beautifully, resulting in a richer taste.
Nutritional Information (Per Serving):
Calories: 350 | Fat: 25g | Saturated Fat: 15g | Carbohydrates: 22g | Fiber: 1g | Sugars: 18g | Protein: 6g
Kitchen Tips, Great Ideas, How to Save Money
- Bulk Buying: Purchase gluten-free ladyfingers and mascarpone cheese in bulk to reduce costs.
- Homemade Ladyfingers: Consider making your own gluten-free ladyfingers to save money.
- Reusable Baking Tools: Invest in reusable baking dishes and mixing bowls.
- Energy Efficiency: Preheat your oven only when ready to use, and bake multiple items at once.
- Smart Storage: Store leftover tiramisu in an airtight container to keep it fresh for days.
- Ingredient Substitutions: Use a mix of cream cheese and heavy cream if mascarpone is unavailable.
- Flavor Enhancements: Experiment with orange zest or amaretto for a twist in flavor.
- DIY Vanilla Extract: Make your own vanilla extract to save on costs.
- Learning and Sharing: Join online gluten-free baking communities for more tips and ideas.
- Creative Presentations: Layer tiramisu in individual glasses for an elegant presentation.
The Joy and Tricks of Making Great Whipped Cream
Making your own whipped cream is one of those small culinary joys that can elevate a dessert to the next level. There’s something so satisfying about watching cream transform from a liquid to a fluffy, cloud-like topping. The trick to perfect whipped cream is using very cold cream, chilled beaters and a chilled bowl—this helps it whip up faster and hold its shape longer. For added stability, you can also add a little powdered sugar or cream of tartar. Whipped cream made from scratch has a fresh, rich taste that you just can’t get from store-bought versions. It’s these little touches that make your tiramisu truly special, adding a light and airy contrast to the rich layers of mascarpone and coffee-soaked ladyfingers.