Comprehensive Canning Guide: Step-by-Step Instructions for Perfectly Preserving Fruits, Vegetables, and Pickles

Share
How to Can: A Complete Guide from Grandmother’s Kitchen
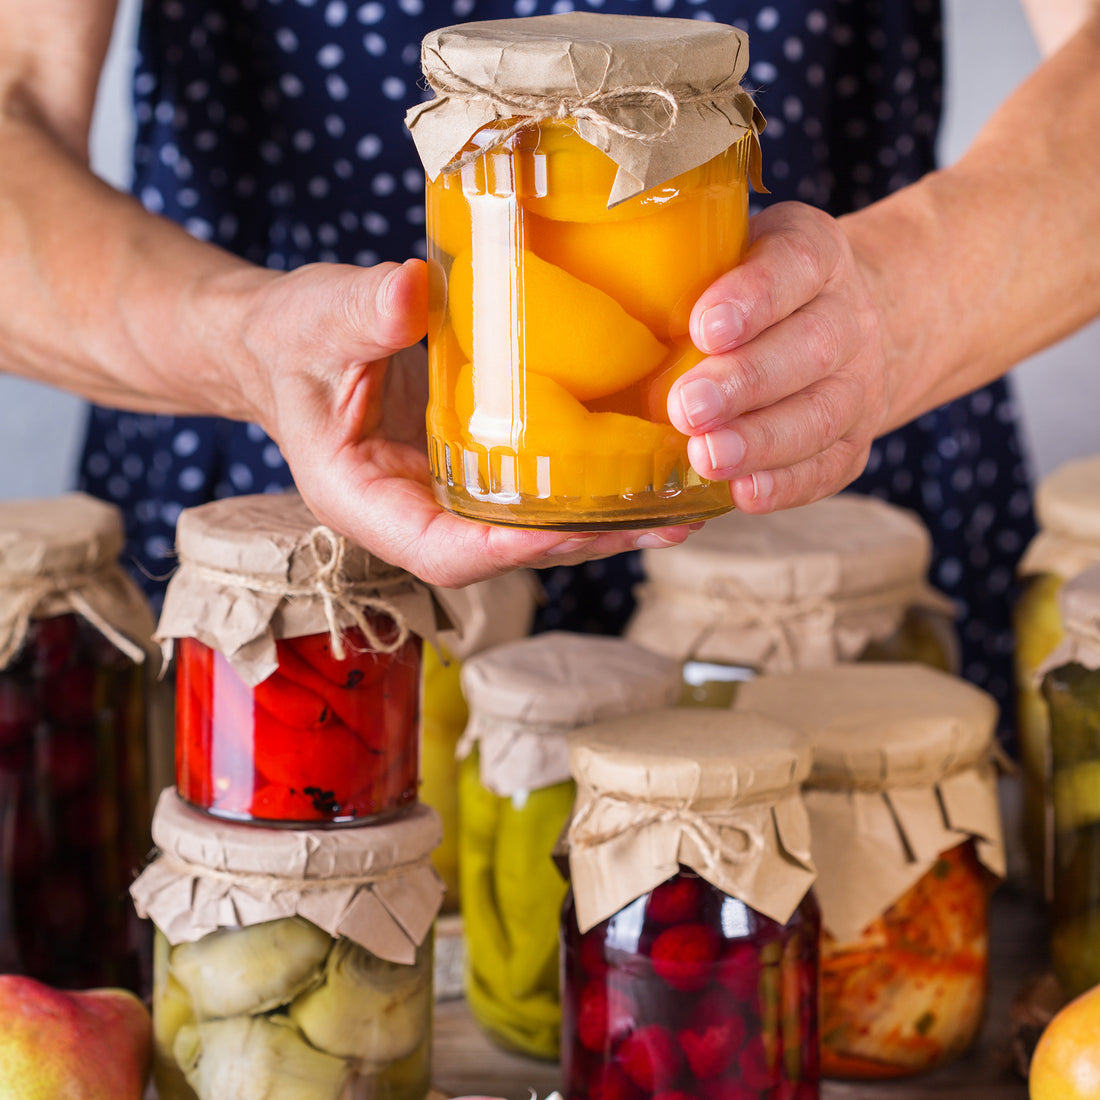
Canning is a time-honored tradition that allows us to preserve the bounty of the harvest season and enjoy the flavors of summer all year long. This guide from Grandmother’s Kitchen will walk you through everything you need to know about canning, from choosing what to can to labeling and storing your finished products. With these step-by-step instructions and tips, you'll be canning like a pro in no time.
What You Need to Know Before You Start
Choosing What to Can: Deciding what to can depends on your preferences and the availability of fresh produce. Popular items include fruits (like peaches and berries), vegetables (such as tomatoes and green beans), jams, jellies, and pickles. Consider the types of foods you enjoy most and their uses throughout the year.
Understanding Canning Methods: There are two primary methods of canning: water bath canning and pressure canning.
Water Bath Canning: This method is suitable for high-acid foods, including fruits, tomatoes, pickles, and jams. It involves submerging jars in boiling water.
Pressure Canning: Used for low-acid foods like vegetables, meats, and soups, pressure canning requires a special pressure canner to reach the high temperatures needed to safely preserve these foods.
Safety Considerations: Safety is paramount in canning to prevent foodborne illnesses, such as botulism. Always use recipes from reliable sources that have been tested for safety. Ensure your equipment is clean, and follow all steps precisely.
Preparing Your Canning Jars
Selecting Jars and Lids: Use only canning jars designed for home preservation. Mason jars are the most popular choice. Ensure you have new lids, as the sealing compound on used lids may not provide a reliable seal.
Sterilizing Jars: Sterilize jars by boiling them in water for at least 10 minutes. Keep jars hot until they are filled to prevent breakage when hot food is added. Lids should be washed and kept in hot, but not boiling, water until ready to use.
Maintaining Cleanliness: Cleanliness is crucial. Work on clean surfaces and wash your hands frequently. This reduces the risk of contamination and helps ensure the safety of your canned goods.
Essential Canning Equipment
Must-Have Tools:
Canner: Water bath canner for high-acid foods and pressure canner for low-acid foods.
Jar Lifter: To safely remove hot jars from the canner.
Funnel: Helps pour food into jars without spilling.
Bubble Remover/Headspace Tool: Removes air bubbles and ensures the correct headspace.
Magnetic Lid Lifter: Helps pick up lids from hot water without using your hands.
Optional Tools:
Kitchen Timer: To track processing times accurately.
Labels and Markers: For labeling jars with contents and dates.
Towels and Cloths: To wipe jar rims and clean spills.
Cost and Where to Buy: Canning equipment is available at most kitchen supply stores, online retailers, and sometimes at local hardware stores. Look for quality brands and consider the cost versus how often you plan to can.
Step-by-Step Canning Process
Water Bath Canning:
-
Prepare the Canner: Fill the water bath canner halfway with water and heat to a simmer.
-
Prepare Jars and Lids: Sterilize jars and keep them hot. Simmer lids in hot water.
-
Prepare the Food: Follow a tested recipe to prepare the food you are canning.
-
Fill the Jars: Use a funnel to fill jars, leaving appropriate headspace (usually 1/4 to 1/2 inch). Remove air bubbles.
-
Wipe Rims and Seal: Wipe the rims of jars with a clean, damp cloth. Place lids on jars and screw on bands until fingertip-tight.
-
Process in Canner: Place jars in the canner. Ensure they are covered by at least 1 inch of water. Bring to a boil and process for the time specified in the recipe.
-
Cool and Store: Remove jars and place them on a towel to cool for 12-24 hours. Check seals, label, and store in a cool, dark place.
Pressure Canning:
-
Prepare the Canner: Add 2-3 inches of water to the pressure canner. Heat water but do not boil.
-
Prepare Jars and Lids: Sterilize jars and keep them hot. Simmer lids in hot water.
-
Prepare the Food: Follow a tested recipe for low-acid foods.
-
Fill the Jars: Use a funnel to fill jars, leaving 1-1/4 inch headspace for low-acid foods. Remove air bubbles.
-
Wipe Rims and Seal: Wipe jar rims. Place lids on jars and screw on bands.
-
Process in Canner: Place jars in the canner. Lock the lid and bring to pressure. Process for the time specified in the recipe.
-
Cool and Store: Allow canner to depressurize. Remove jars and place them on a towel to cool. Check seals, label, and store.
Labeling and Storing Your Canned Goods
Best Practices for Labeling: Clearly label each jar with the date and contents. This helps track the age of your canned goods and ensures you use the oldest items first.
Storage Tips: Store canned goods in a cool, dark place, such as a pantry or basement. Avoid direct sunlight and extreme temperatures. Proper storage extends the shelf life and maintains the quality of your canned goods.
Checking Seals and Discarding: For canned food that you have had in storage, before using, always check seals by pressing the center of the lid. If it pops back, the seal is not intact, and the food should be discarded. Never taste food from a jar with an unsealed lid.
Canning Tips and Tricks from Grandmother’s Kitchen
Personal Anecdotes and Traditional Tips: Canning has been a family tradition for generations in Grandmother’s Kitchen. From the rhythmic clinking of jars to the aroma of fresh produce, it’s a labor of love. Grandmother always says, "A well-canned jar is a piece of summer preserved."
Beginner-Friendly Recipes:
Strawberry Jam: A sweet, easy-to-make jam that’s perfect for beginners.
Pickled Cucumbers: Crisp and tangy, great for sandwiches and snacks.
Creative Uses for Canned Goods:
Tomato Sauce: Use in pasta dishes, soups, and stews.
Peach Slices: Perfect for desserts, breakfasts, or straight from the jar.
Canning is a rewarding process that allows you to savor the flavors of the season all year long. With the comprehensive steps and tips provided by Grandmother’s Kitchen, you’re well on your way to becoming a canning expert. Whether you’re preserving fruits, vegetables, or homemade sauces, the joy of opening a jar of summer in the middle of winter is unmatched. Happy canning!
Guide To Processing Times for Various Canned Fruits, Jams, Jellies, and Pickles
Below are the general processing times for different types of canned fruits, jams, jellies, and pickles. Always adjust for altitude as necessary.
Canned Fruits:
Cherries:
Sweet Cherries (halved or whole):
Pints: 15 minutes (0-1,000 feet); 20 minutes (1,001-3,000 feet)
Quarts: 20 minutes (0-1,000 feet); 25 minutes (1,001-3,000 feet)
Apricots:
Halved or Sliced Apricots:
Pints: 20 minutes (0-1,000 feet); 25 minutes (1,001-3,000 feet)
Quarts: 25 minutes (0-1,000 feet); 30 minutes (1,001-3,000 feet)
Jams and Jellies:
For most jams and jellies, the processing times are similar to those for strawberry jam. Here are the typical times:
Jams (e.g., blueberry, raspberry, peach):
Half-pints or pints: 10 minutes (0-1,000 feet); 15 minutes (1,001-3,000 feet)
Jellies (e.g., apple, grape, mint):
Half-pints or pints: 10 minutes (0-1,000 feet); 15 minutes (1,001-3,000 feet)
Pickles:
The processing times can vary depending on the type of pickle. Here are a few examples:
Dill Pickles:
Pints: 10 minutes (0-1,000 feet); 15 minutes (1,001-3,000 feet)
Quarts: 15 minutes (0-1,000 feet); 20 minutes (1,001-3,000 feet)
Bread-and-Butter Pickles:
Pints: 10 minutes (0-1,000 feet); 15 minutes (1,001-3,000 feet)
Sweet Pickles:
Pints: 10 minutes (0-1,000 feet); 15 minutes (1,001-3,000 feet)
Quarts: 15 minutes (0-1,000 feet); 20 minutes (1,001-3,000 feet)
Pickled Beets:
Pints: 30 minutes (0-1,000 feet); 35 minutes (1,001-3,000 feet)
Quarts: 35 minutes (0-1,000 feet); 40 minutes (1,001-3,000 feet)
Altitude Adjustments:
For every additional 1,000 feet above sea level, add the following time to the processing times:
1,001-3,000 feet: Add 5 minutes
3,001-6,000 feet: Add 10 minutes
Above 6,000 feet: Add 15 minutes
Additional Tips:
Use a Rack: Always use a rack in the bottom of your canner to prevent jars from touching the bottom and breaking.
Cover Jars with Water: Ensure jars are covered by at least 1 inch of water during processing.
Simmering Water: Start timing the process once the water reaches a rolling boil.
Cool Jars Properly: Let the jars cool undisturbed for 12-24 hours before checking seals and storing.
Reliable Sources:
National Center for Home Food Preservation
Ball Canning
USDA Complete Guide to Home Canning
Always refer to these trusted resources for precise and updated information to ensure food safety.


