


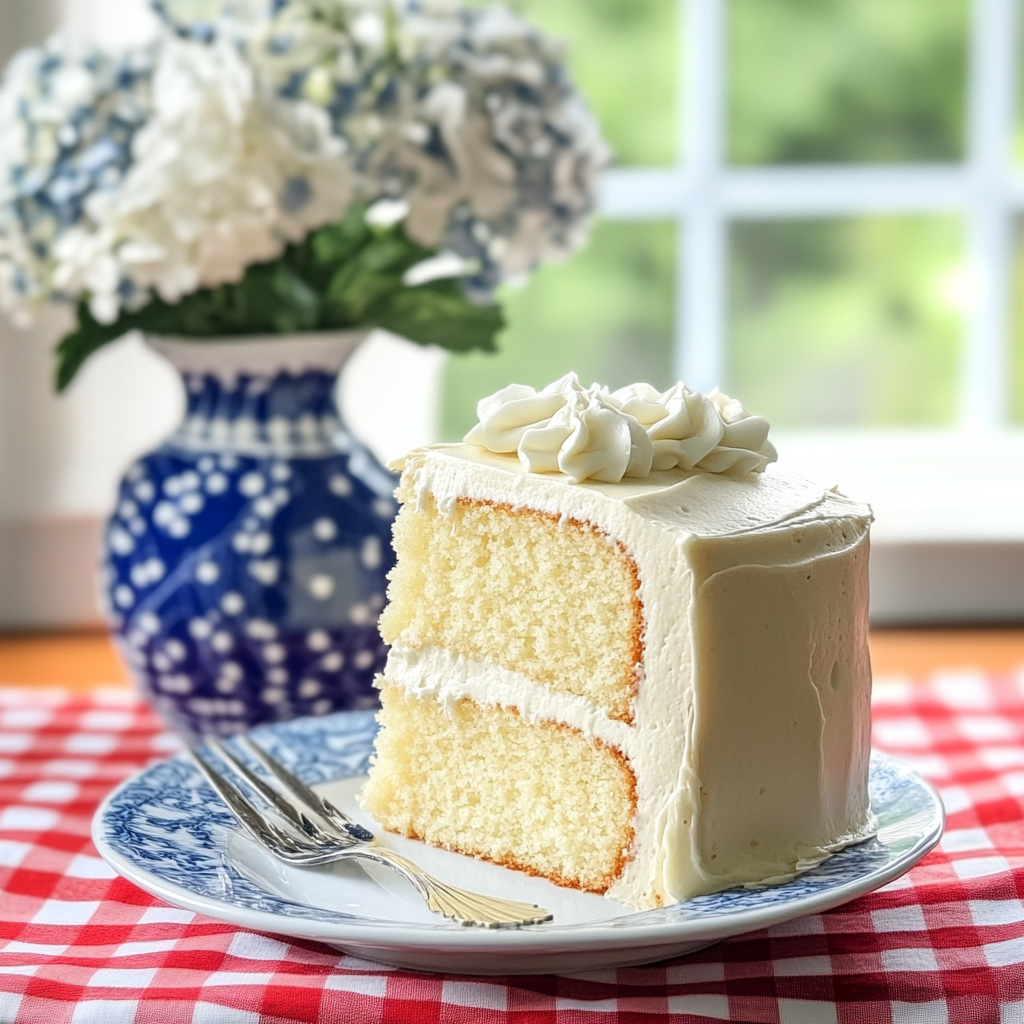
Classic Two-Layer Vanilla Cake with Vanilla Buttercream Frosting
Share
A Classic Vanilla Cake Is A Beautiful Simple Cake To Know How to Make
It's not that difficult to make a cake from scratch. I know it's easy to reach for a cake mix when shopping, and once in a while, that's great, but if you are a label reader, you may prefer to know what ingredients are in your cake. This recipe uses super basic ingredients that most home cooks likely have in their pantry. It's very easy with a nice hand or stand-up mixer to combine everything and follow instructions to make your very own delicious cake.
Did You Know?
Vanilla cake is a timeless classic that has been enjoyed for generations. It is known for its light, fluffy texture and rich vanilla flavor, making it a perfect base for various frostings and fillings. The history of vanilla as a flavoring dates back to the Aztecs, who used vanilla pods to enhance their chocolate drinks. Today, vanilla is one of the most popular and versatile flavors in baking.
Yield: 12 servings
Ingredients:
For the Vanilla Cake:
- 2 1/2 cups all-purpose flour
- 2 1/2 teaspoons baking powder
- 1/2 teaspoon salt
- 1 1/4 cups unsalted butter, room temperature
- 2 cups granulated sugar
- 4 large eggs, room temperature
- 1 cup whole milk, room temperature
- 1 tablespoon vanilla extract
For the Vanilla Buttercream Frosting:
- 1 cup unsalted butter, room temperature
- 4 cups powdered sugar
- 1/4 cup heavy cream
- 1 tablespoon vanilla extract
- Pinch of salt
Instructions:
Prepare the Vanilla Cake: Preheat the oven to 350°F (175°C). Grease and flour two 9-inch round cake pans.
Personal Tip: Use parchment paper rounds at the bottom of the pans to ensure the cakes release easily. This also makes cleanup a breeze.
In a medium bowl, whisk together the flour, baking powder, and salt.
Personal Tip: Sifting the dry ingredients can help avoid lumps and ensure an even rise in the cake.
In a large bowl, beat the butter and sugar until light and fluffy, about 3-4 minutes.
Personal Tip: Make sure the butter is at room temperature; this helps it cream more easily and incorporate air for a lighter cake.
Add the eggs one at a time, beating well after each addition.
Personal Tip: Scrape down the sides of the bowl as needed to ensure everything is well mixed and no lumps remain.
Gradually add the flour mixture to the butter mixture, alternating with the milk, beginning and ending with the flour mixture. Mix until just combined.
Personal Tip: Overmixing can make the cake dense. Mix until the ingredients are just incorporated for a tender crumb.
Stir in the vanilla extract.
Personal Tip: For an extra vanilla kick, consider adding a teaspoon of vanilla bean paste along with the extract.
Divide the batter evenly between the prepared pans and smooth the tops with a spatula.
Personal Tip: Tap the pans gently on the counter to release any air bubbles, ensuring an even bake.
Bake for 25-30 minutes, or until a toothpick inserted into the center comes out clean.
Personal Tip: Start checking at 25 minutes. Overbaking can dry out the cake, so keep an eye on it towards the end.
Allow the cakes to cool in the pans for 10 minutes, then turn out onto wire racks to cool completely before frosting.
Personal Tip: Letting the cakes cool in the pans helps them firm up slightly, making them easier to handle when turning out.
Prepare the Vanilla Buttercream Frosting: In a large mixing bowl, beat the butter until creamy and smooth.
Personal Tip: Beating the butter on its own first ensures a super smooth and fluffy frosting.
Gradually add the powdered sugar, 1 cup at a time, beating well after each addition.
Personal Tip: Add the powdered sugar slowly to avoid a cloud of sugar dust in your kitchen. Covering the bowl with a towel can help.
Add the heavy cream, vanilla extract, and salt, and continue beating until the frosting is light and fluffy.
Personal Tip: For a fluffier frosting, beat the mixture for an additional 2-3 minutes after everything is combined. This also makes it easier to spread.
Assemble the Cake: Place one cake layer on a serving plate or cake stand. Spread a generous amount of frosting over the top.
Personal Tip: Use an offset spatula to spread the frosting evenly. This tool makes it easier to get a smooth finish.
Place the second cake layer on top of the first, and spread a thin layer of frosting over the entire cake to create a crumb coat. Refrigerate for 15-20 minutes to set the crumb coat.
Personal Tip: A crumb coat seals in any loose crumbs, making the final layer of frosting look smooth and professional.
Once the crumb coat is set, spread the remaining frosting evenly over the top and sides of the cake.
Personal Tip: For a final touch, consider using a piping bag to add decorative swirls or borders.
Optionally, decorate the cake with sprinkles, fresh fruit, or edible flowers.
Personal Tip: If using fresh fruit, add it just before serving to keep it looking fresh and vibrant.
Nutritional Information (Per Serving): Calories: 480, Fat: 24g, Saturated Fat: 15g, Carbohydrates: 62g, Fiber: 1g, Sugars: 50g, Protein: 4g
Kitchen Tips, Great Ideas, How to Save Money
-
Bulk Buying: Purchase baking staples like flour, sugar, and butter in bulk to save money. These ingredients are versatile and can be used in many recipes.
-
Room Temperature Ingredients: Ensure that all ingredients, especially butter, eggs, and milk, are at room temperature before mixing. This helps the batter mix more evenly and results in a smoother, more uniform cake.
-
Homemade Vanilla Extract: Save money by making your own vanilla extract. Simply split a few vanilla beans, place them in a bottle of vodka, and let it steep for several weeks. This homemade version is often more flavorful and cost-effective than store-bought extract.
-
Reusable Tools: Invest in reusable cake pans, mixing bowls, and measuring cups. High-quality tools can be used for many years and help ensure consistent baking results.
-
Frosting Variations: Experiment with different flavors of buttercream frosting by adding cocoa powder for chocolate frosting, fruit purees for a fruity twist, or a touch of espresso for a coffee-flavored frosting.
-
Cake Storage: Store leftover cake in an airtight container at room temperature for up to 3 days or in the refrigerator for up to a week. If refrigerating, bring the cake to room temperature before serving for the best texture.
-
Freezing Option: This cake can be frozen for up to 2 months. Wrap each layer tightly in plastic wrap and foil before freezing. Thaw in the refrigerator overnight before frosting and serving.
-
Decorating Tips: Use a cake turntable and an offset spatula for smooth and even frosting application. A piping bag with decorative tips can be used to create beautiful designs on the cake.
-
Portion Control: If you prefer smaller portions, divide the batter into cupcake liners and bake for 18-20 minutes. Frost the cupcakes individually for a fun and portable treat.
-
Leftover Frosting: Use any leftover frosting as a filling for sandwich cookies, a topping for brownies, or mix it with cream cheese for a delicious dip for fruit.
Where Does Vanilla Come From?
Vanilla is a fascinating ingredient, not only because of its unique flavor but also due to the meticulous process involved in its cultivation. Vanilla comes from the orchid genus Vanilla, and the primary species used in flavoring is Vanilla planifolia. The plant itself is a tropical orchid that requires a very specific climate to thrive, primarily found in regions such as Madagascar, Mexico, and Tahiti.
The process of growing and harvesting vanilla is labor-intensive. After pollination, which is often done by hand due to the orchid’s short window of natural pollination, the vanilla pods take several months to mature. Once harvested, the pods go through a lengthy curing process that can take up to six months. This involves sweating, drying, and conditioning the pods to develop their characteristic flavor and aroma.
Different regions produce vanilla with varying flavor profiles. Madagascar vanilla, for example, is known for its creamy, rich flavor, while Tahitian vanilla is more floral and fruity. Mexican vanilla, the original source of vanilla, has a bold, spicy flavor that stands out in recipes.
The quality of vanilla can vary greatly depending on how it is processed and the conditions in which it is grown. Pure vanilla extract is made by soaking vanilla pods in alcohol to extract their flavor, and this pure extract can be quite expensive due to the laborious process involved. However, the depth of flavor it adds to baked goods like this classic vanilla cake is unparalleled, making it a worthy investment for home bakers.