


Chocolate Christmas Tree Sugar Cookies
Share
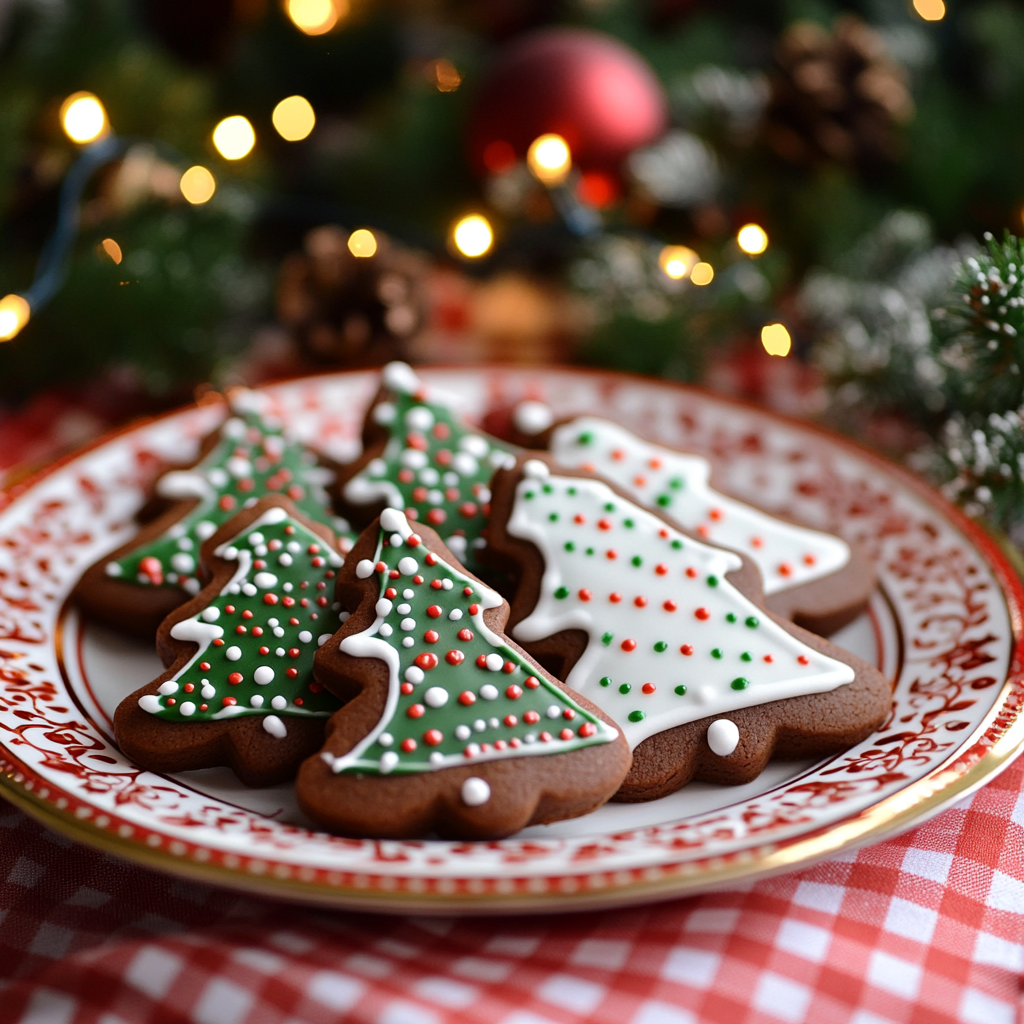
These rich, chocolatey cookies are the ultimate holiday treat! Shaped like festive Christmas trees, they hold their shape beautifully, making them perfect for decorating. With their deep cocoa flavor and colorful royal icing designs, they’re as fun to make as they are to eat!
Did You Know?
Chocolate sugar cookies are a festive twist on classic sugar cookies. Their rich cocoa base is perfect for creating intricate holiday shapes, and they pair wonderfully with royal icing or sprinkles. A staple of holiday baking, these cookies are as beautiful as they are delicious.
Yield
24 cookies (depending on cutter size)
Ingredients
For the Cookies:
3/4 cup unsweetened cocoa powder
2 1/2 cups all-purpose flour
1 teaspoon baking powder
1/2 teaspoon salt
1 cup (2 sticks) unsalted butter, softened
1 1/4 cups granulated sugar
1 large egg
1 teaspoon vanilla extract
1/2 teaspoon almond extract (optional)
For the Royal Icing:
2 cups powdered sugar
1-2 tablespoons meringue powder
3-4 tablespoons water
Natural Gel food coloring (green, red, white)
Instructions
Step 1: Prepare the Dough
In a medium bowl, whisk together the cocoa powder, flour, baking powder, and salt.
In a large mixing bowl, cream the softened butter and sugar until light and fluffy.
Mix in the egg, vanilla extract, and almond extract (if using).
Gradually add the dry ingredients to the wet mixture, mixing until the dough forms.
Step 2: Chill the Dough
Divide the dough into two portions, flatten into disks, and wrap in plastic wrap.
Refrigerate for at least 1 hour, or until the dough is firm.
Step 3: Shape the Cookies
Preheat the oven to 350°F (175°C) and line baking sheets with parchment paper.
Roll the dough out to 1/4-inch thickness on a floured surface or between parchment paper.
Use a Christmas tree-shaped cookie cutter to cut out cookies.
Place the cookies 1 inch apart on the prepared baking sheets.
Step 4: Bake the Cookies
Bake for 8-10 minutes, or until the edges are set. The tops will remain soft.
Cool on the baking sheet for 5 minutes, then transfer to a wire rack to cool completely.
How to Make Royal Icing and Decorate
Step 1: Make the Royal Icing
In a medium bowl, mix the powdered sugar and meringue powder. Gradually add water, one tablespoon at a time, until the icing reaches your desired consistency. For outlining, use a thicker consistency; for flooding, thin it out with more water.
Step 2: Color the Icing
Divide the icing into three bowls. Add green gel food coloring to one, red to another, and leave the last white. Stir until the colors are vibrant.
Step 3: Decorate the Cookies
- Use a piping bag with a small round tip to outline the tree shape in green. Let it set for 5 minutes.
- Thin the green icing slightly and flood the inside of the outline. Use a toothpick to spread the icing evenly.
- Add dots of red and white icing to create ornaments or snowflake patterns.
- For the white cookies, outline and flood with white icing, then add red and green dots for festive details.
- Let the decorated cookies dry completely before stacking or serving.
Nutritional Information (Per Cookie)
Calories: 120, Protein: 1g, Carbohydrates: 16g, Fiber: 1g, Net Carbohydrates: 15g, Fat: 5g, Saturated Fat: 3g, Cholesterol: 15mg, Sodium: 50mg, Sugars: 8g, Glycemic Index: Medium
How These Cookies Will Look and Taste
These cookies are rich, chocolatey, and hold their festive tree shape perfectly after baking. With vibrant green and white icing, and pops of red for decoration, they’re visually stunning. The texture is soft but sturdy enough to hold intricate designs, and the cocoa flavor pairs beautifully with the sweet royal icing.
Kitchen Tips, Great Ideas, How to Save Money
- Use high-quality cocoa powder for a richer flavor.
- Chill the dough well to ensure the cookies keep their shape during baking.
- Sift the powdered sugar and cocoa powder to prevent lumps.
- Use gel food coloring for vibrant holiday colors without altering the icing’s consistency.
- Decorate cookies in batches to avoid icing drying out while working.
- Invest in reusable piping bags for eco-friendly and precise decorating.
- Store cookies in airtight containers to keep them fresh and prevent moisture from softening the icing.
- Add edible glitter for a festive sparkle.
- Use toothpicks to create intricate icing designs and fix small mistakes.
- Pack these cookies in decorative tins or boxes for thoughtful holiday gifts.
Let’s Learn About Royal Icing in Christmas Cookies
Royal icing is the secret to professional-looking holiday cookies. It dries hard, making it perfect for intricate designs that won’t smudge. The key to success is achieving the right consistency: thicker icing for outlining and thinner icing for flooding. Gel food coloring provides vibrant shades without altering the texture, making your Christmas cookies as colorful as they are delicious!